HOW TO GUIDE: Meguiar's Perfect Clarity Glass Compound & Glass Sealant
Earlier in the month we introduced you to our Glass Polishing Compound & Glass Sealant – the latest additions to the Meguiar’s Perfect Clarity range which not only results in crystal-clear glass but also quickly beads and disperses water (ahem, rain) too! You can find out more behind the science of each product by clicking this link here, but for now let’s show you how quickly and easily they are to apply.
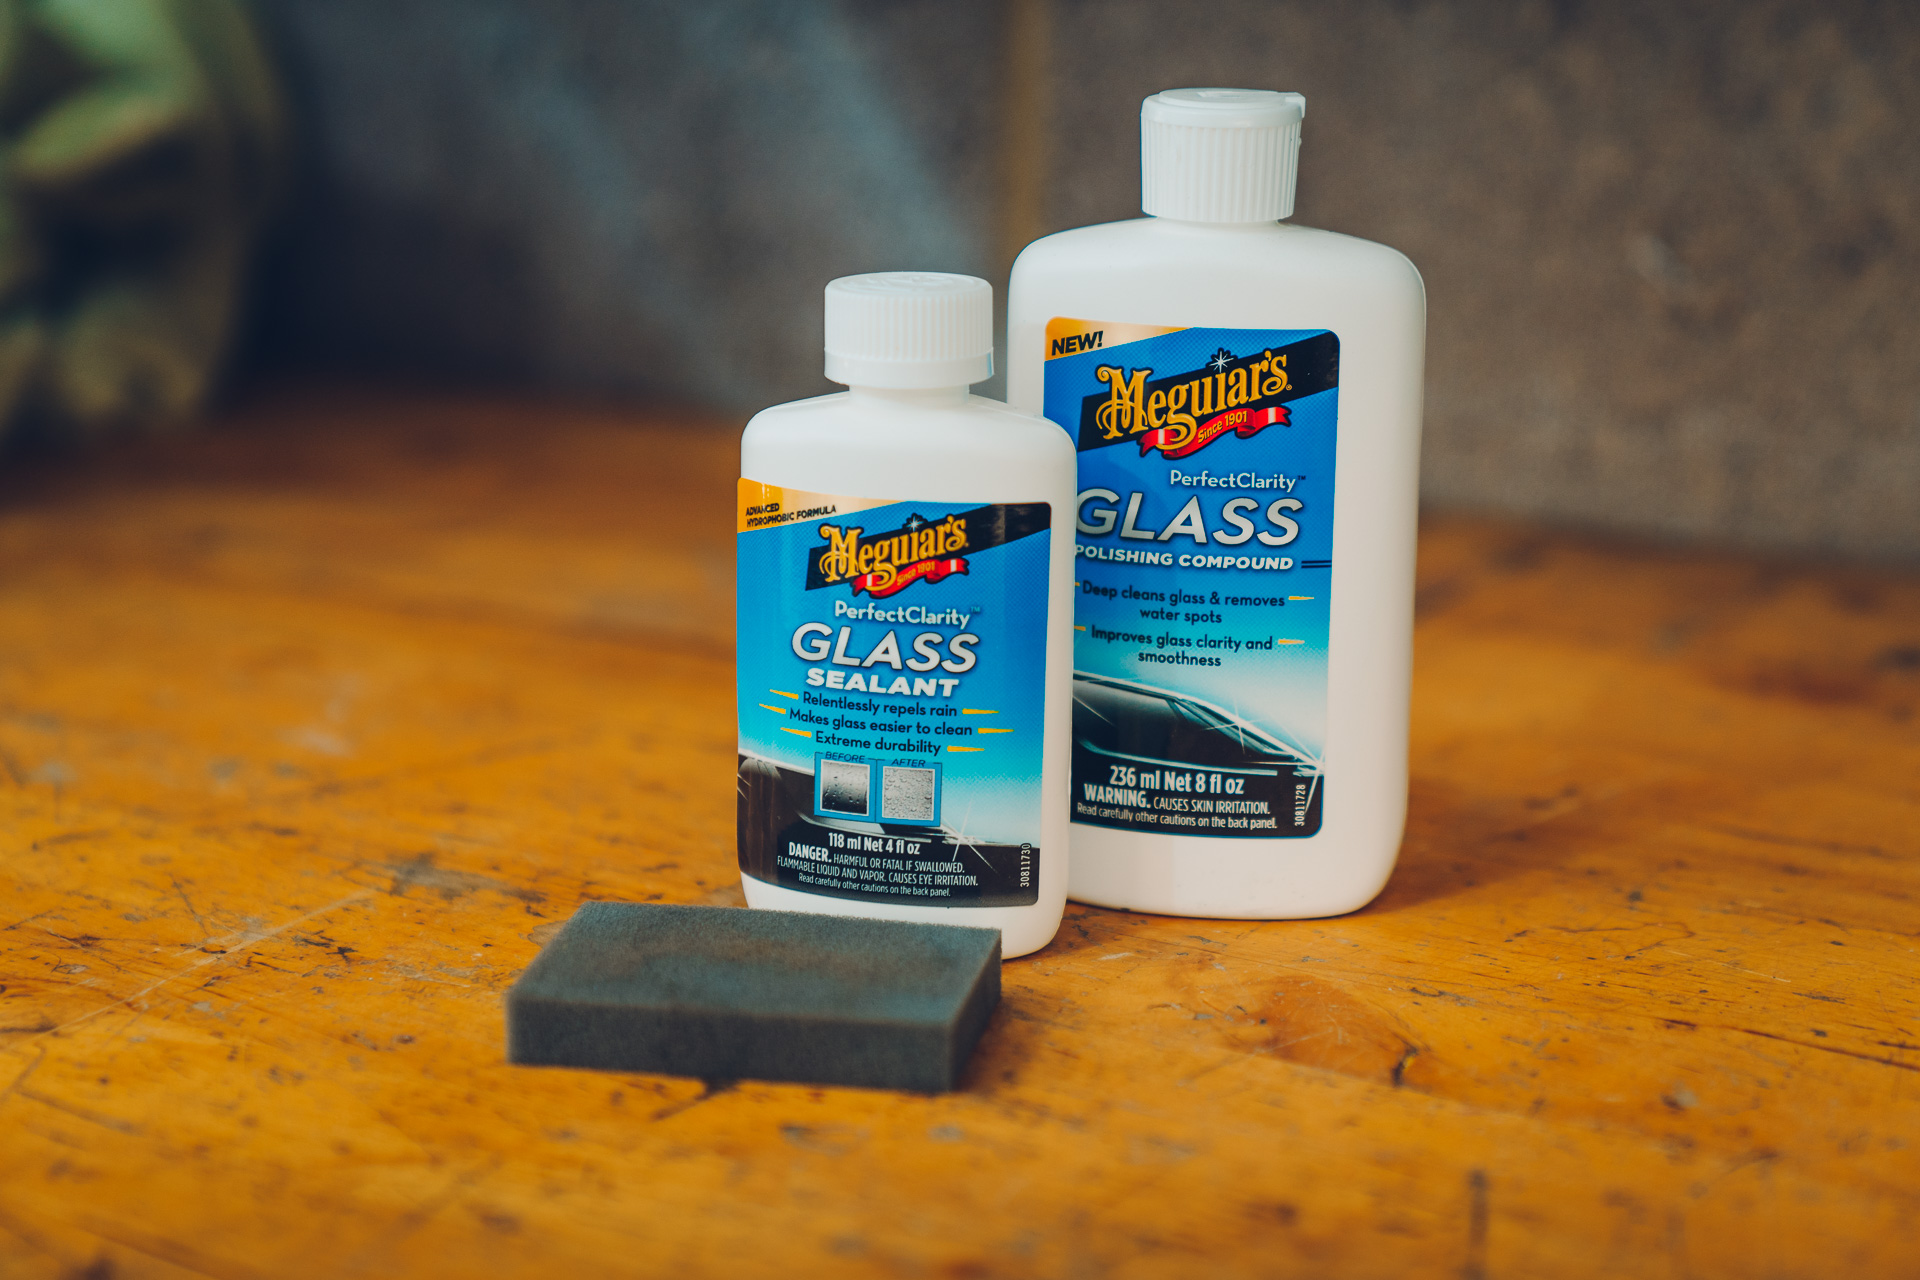
It’s worth noting that, although sold separately, Meguiar’s highly advises using the two products together. Why? Remove the glass element from the product title for a minute, and instead look at them like you would a traditional paint compound and sealant… albeit tailored for glass.
The polishing compound makes it a clear as possible and the sealant ensures it’s protected from contaminants. Make sense? Let’s start with the polishing compound…
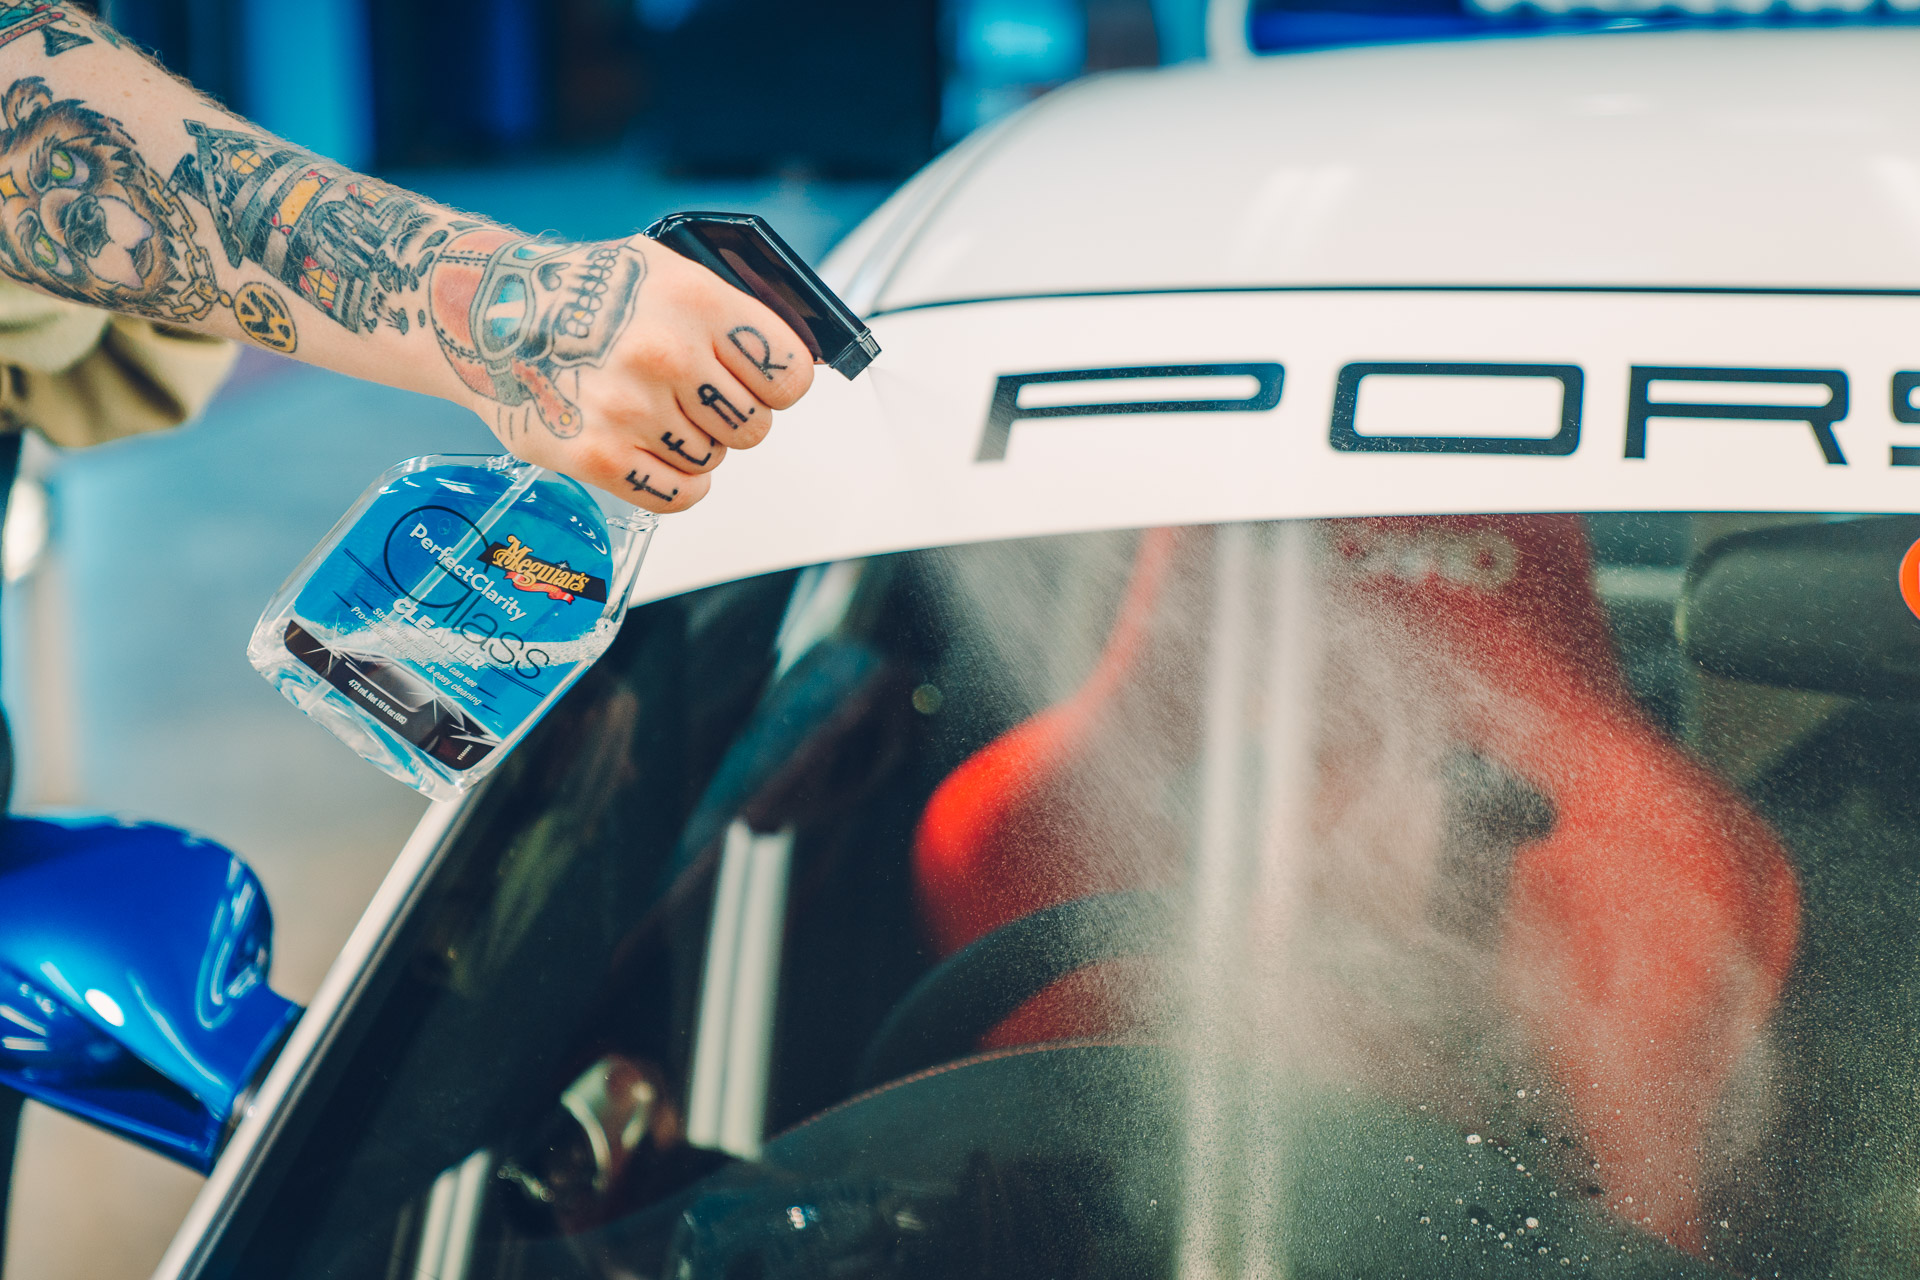
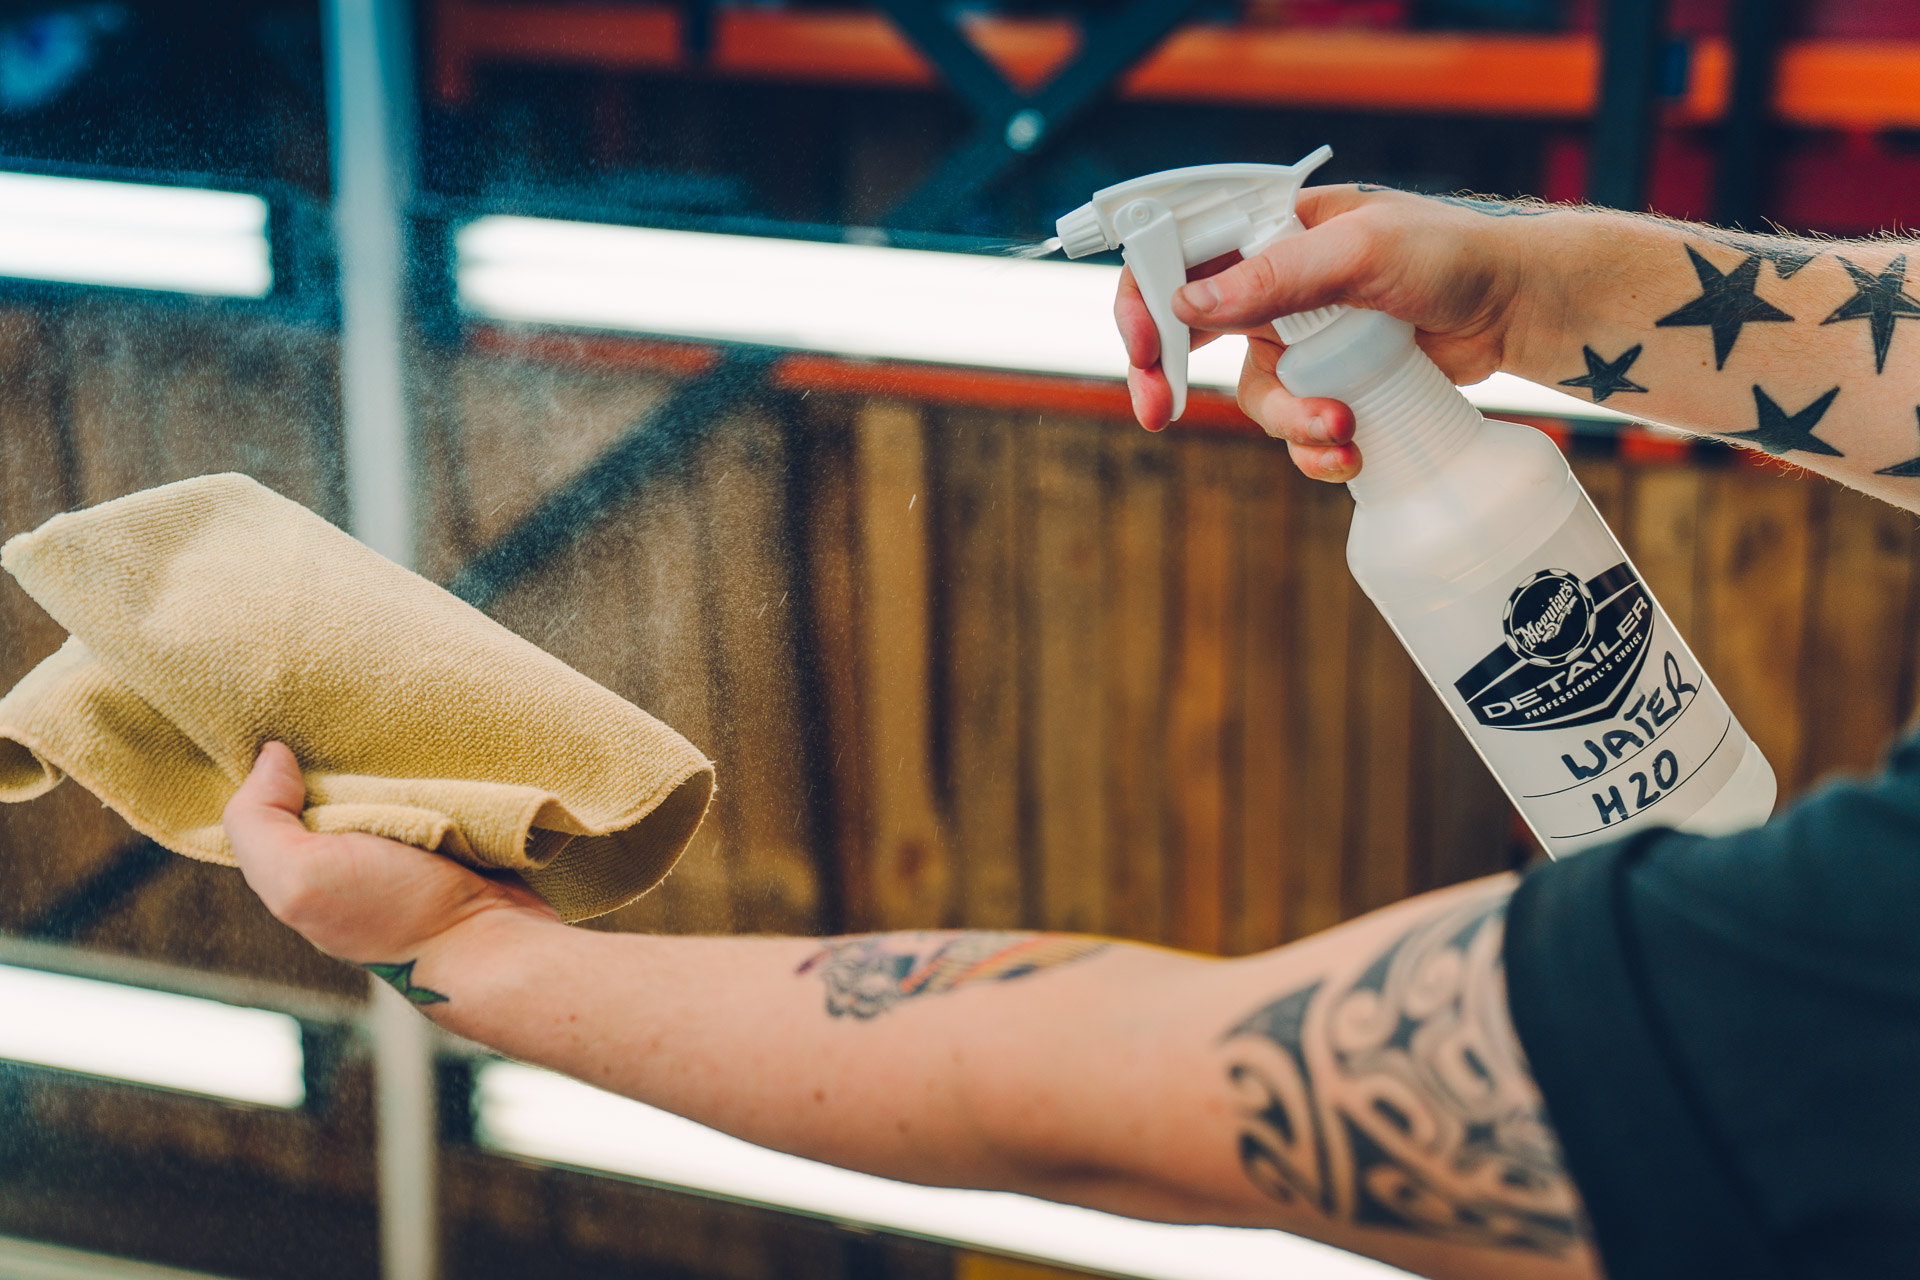
Step 1: Clean the windscreen – sounds simple, but you wouldn’t apply polish to a car’s paintwork before it’s been washed and the same principal applies to the glass. You’ll want to remove any dirt, dust and contaminants beforehand with a product such as Meguiar’s Perfect Clarity Glass Cleaner and of course a fresh microfibre towel.
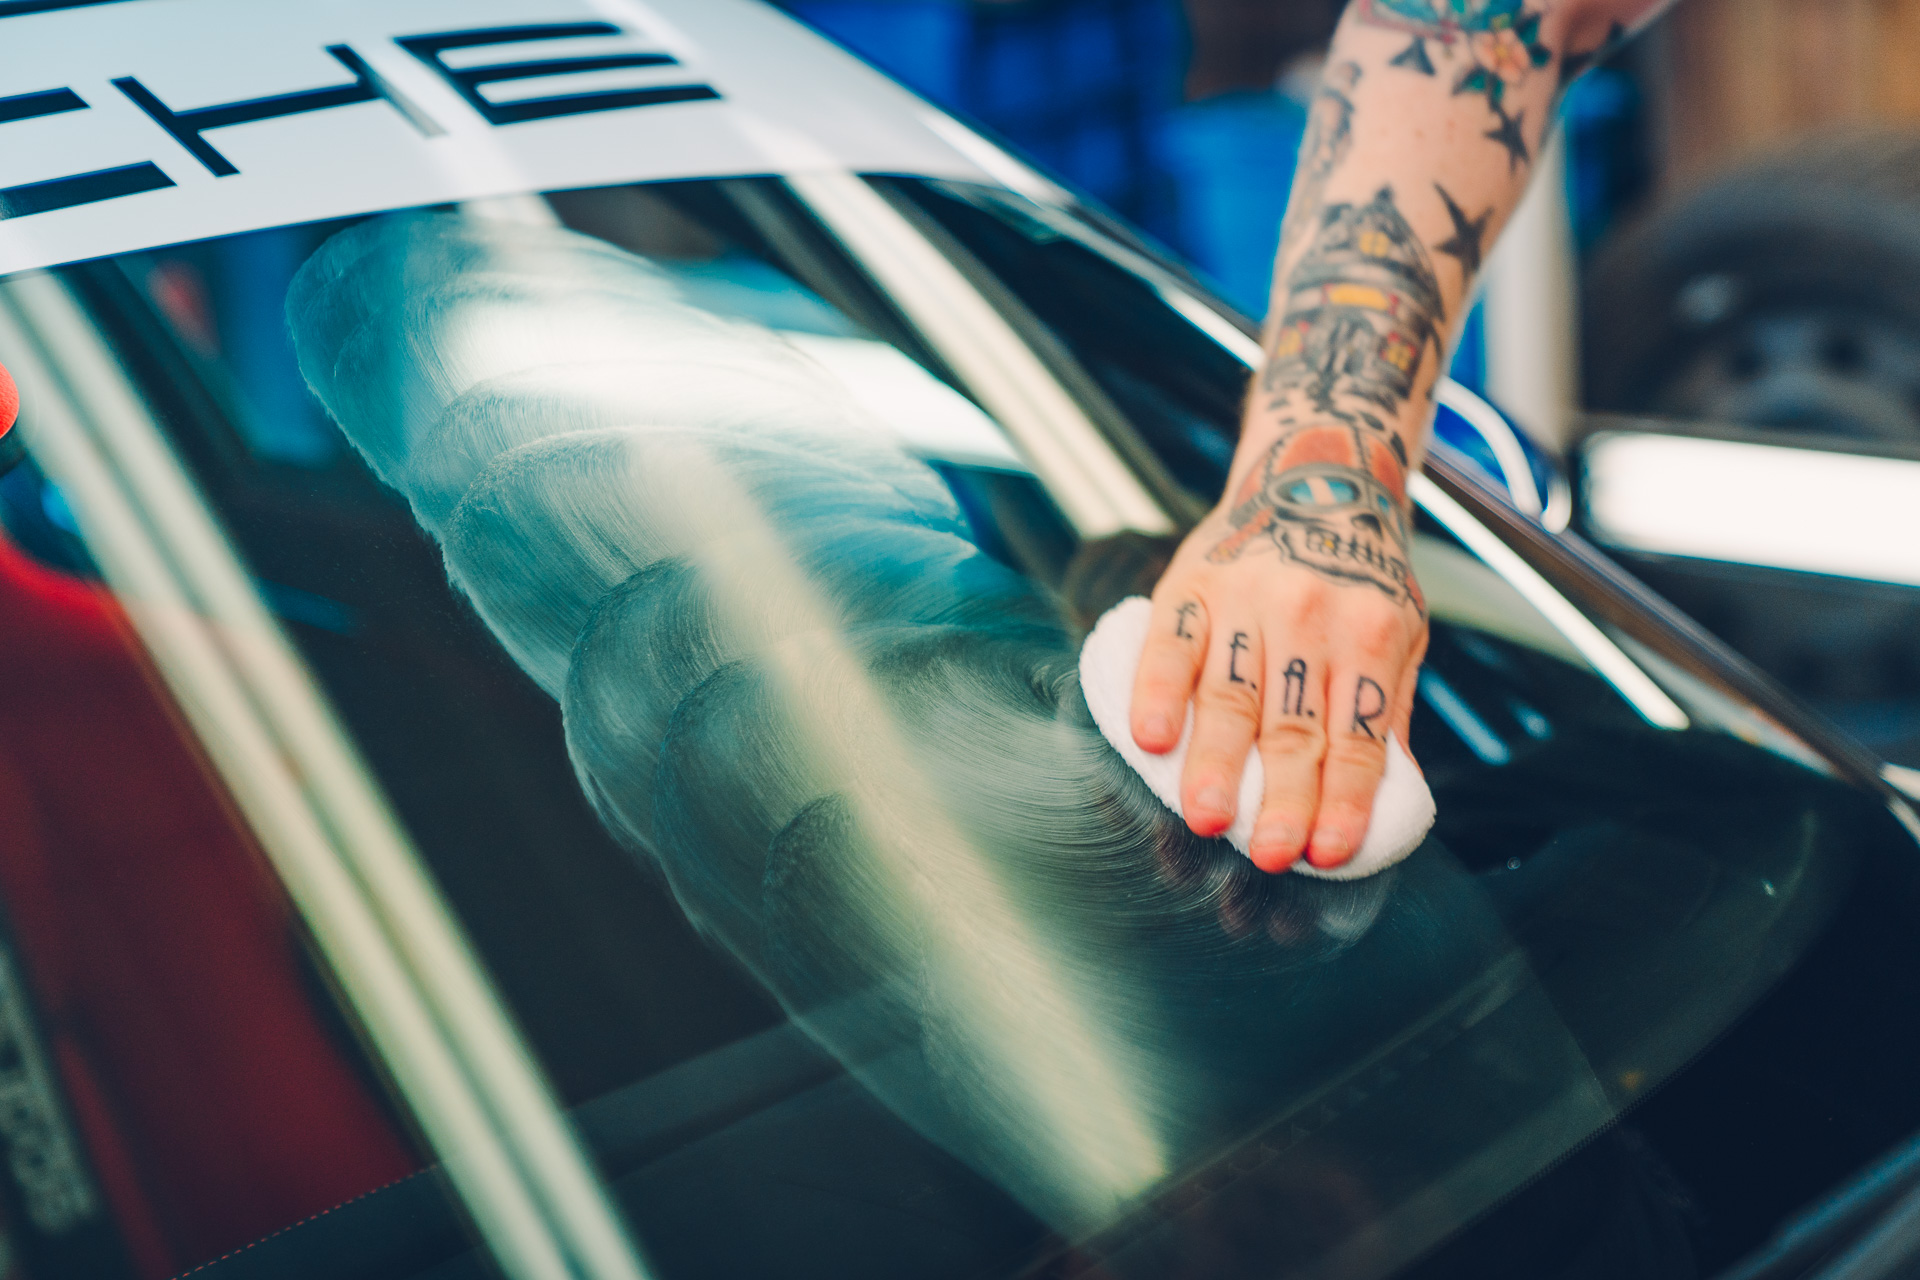
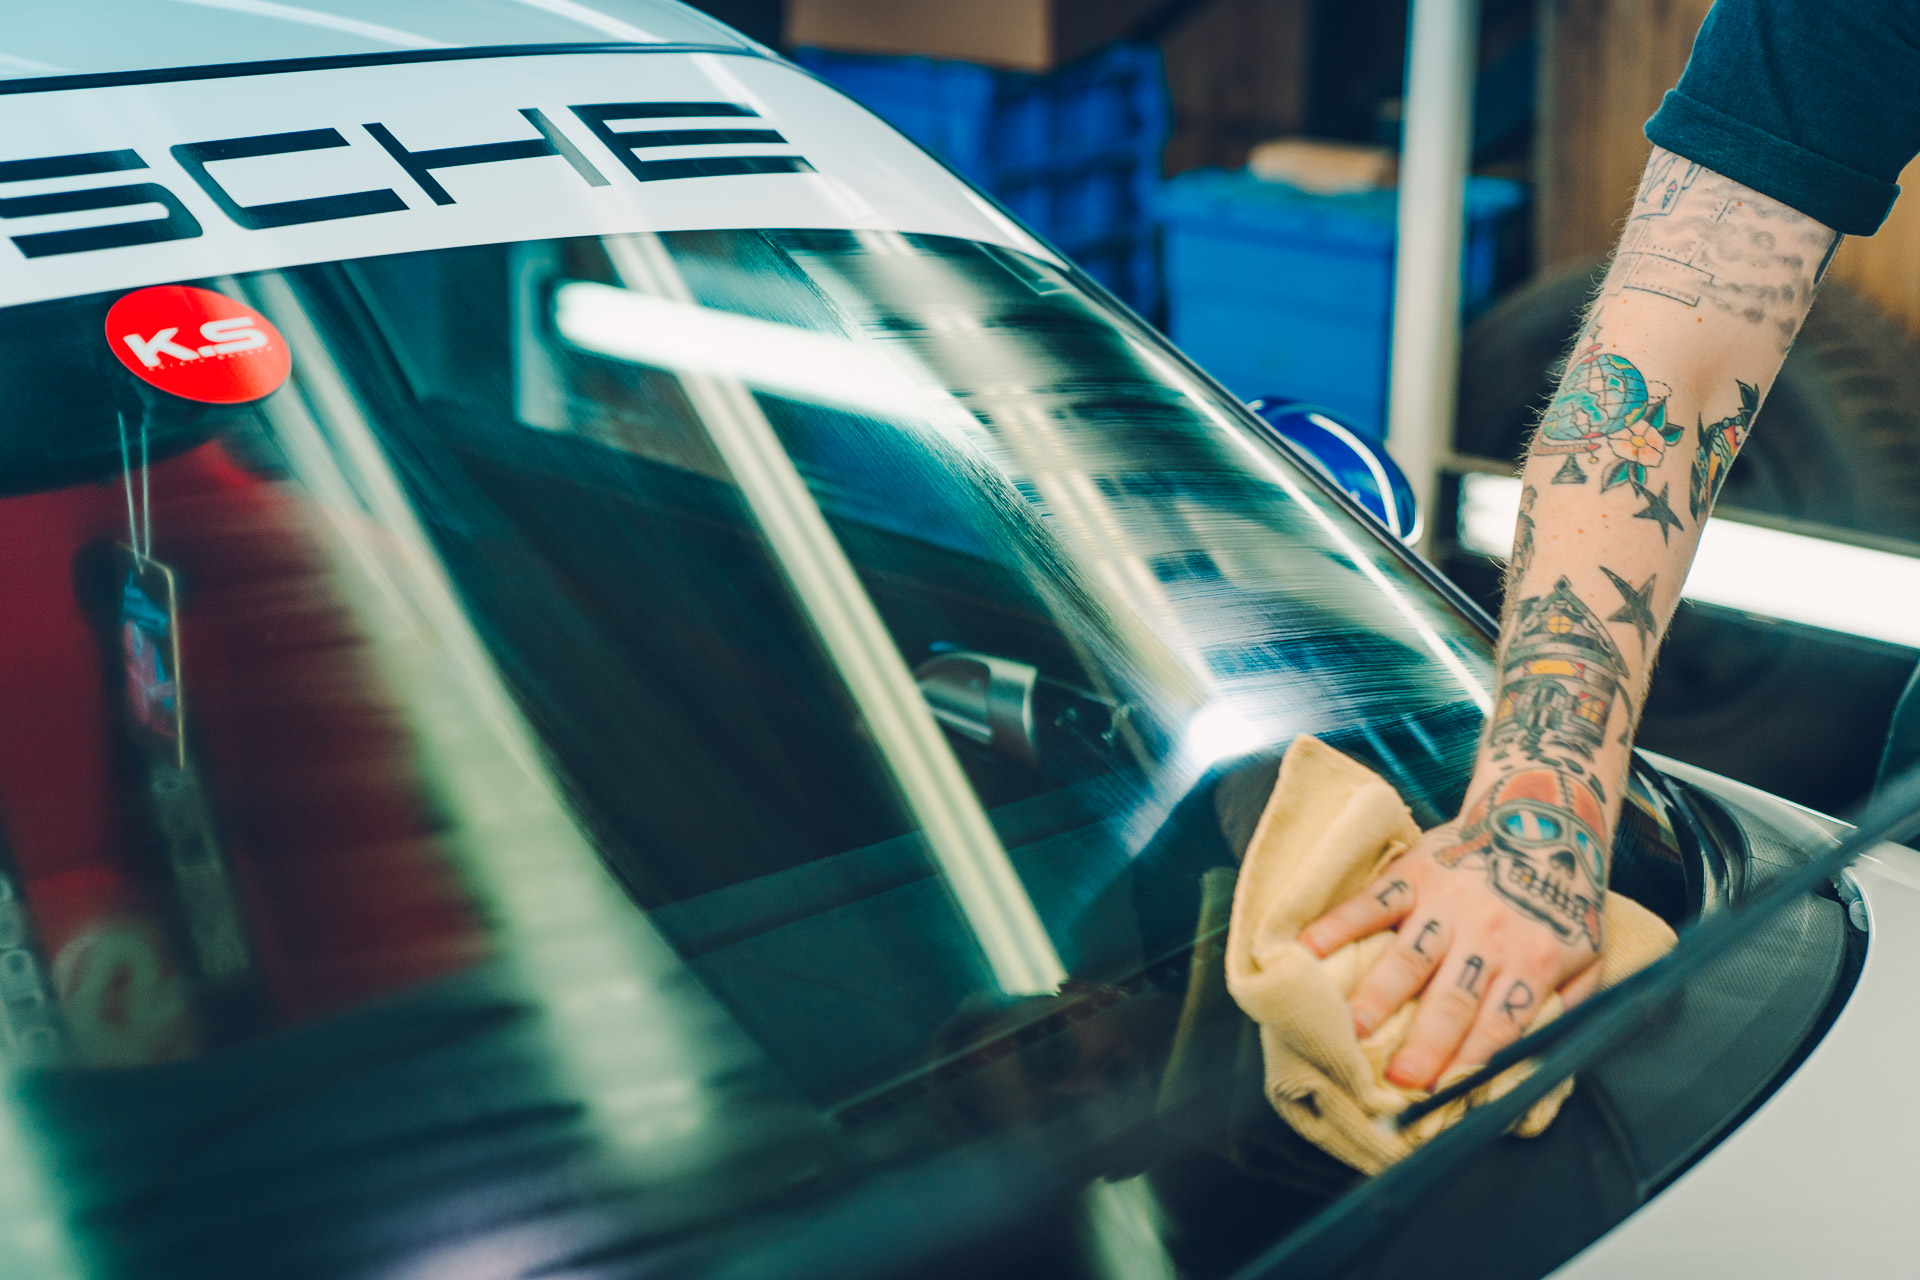
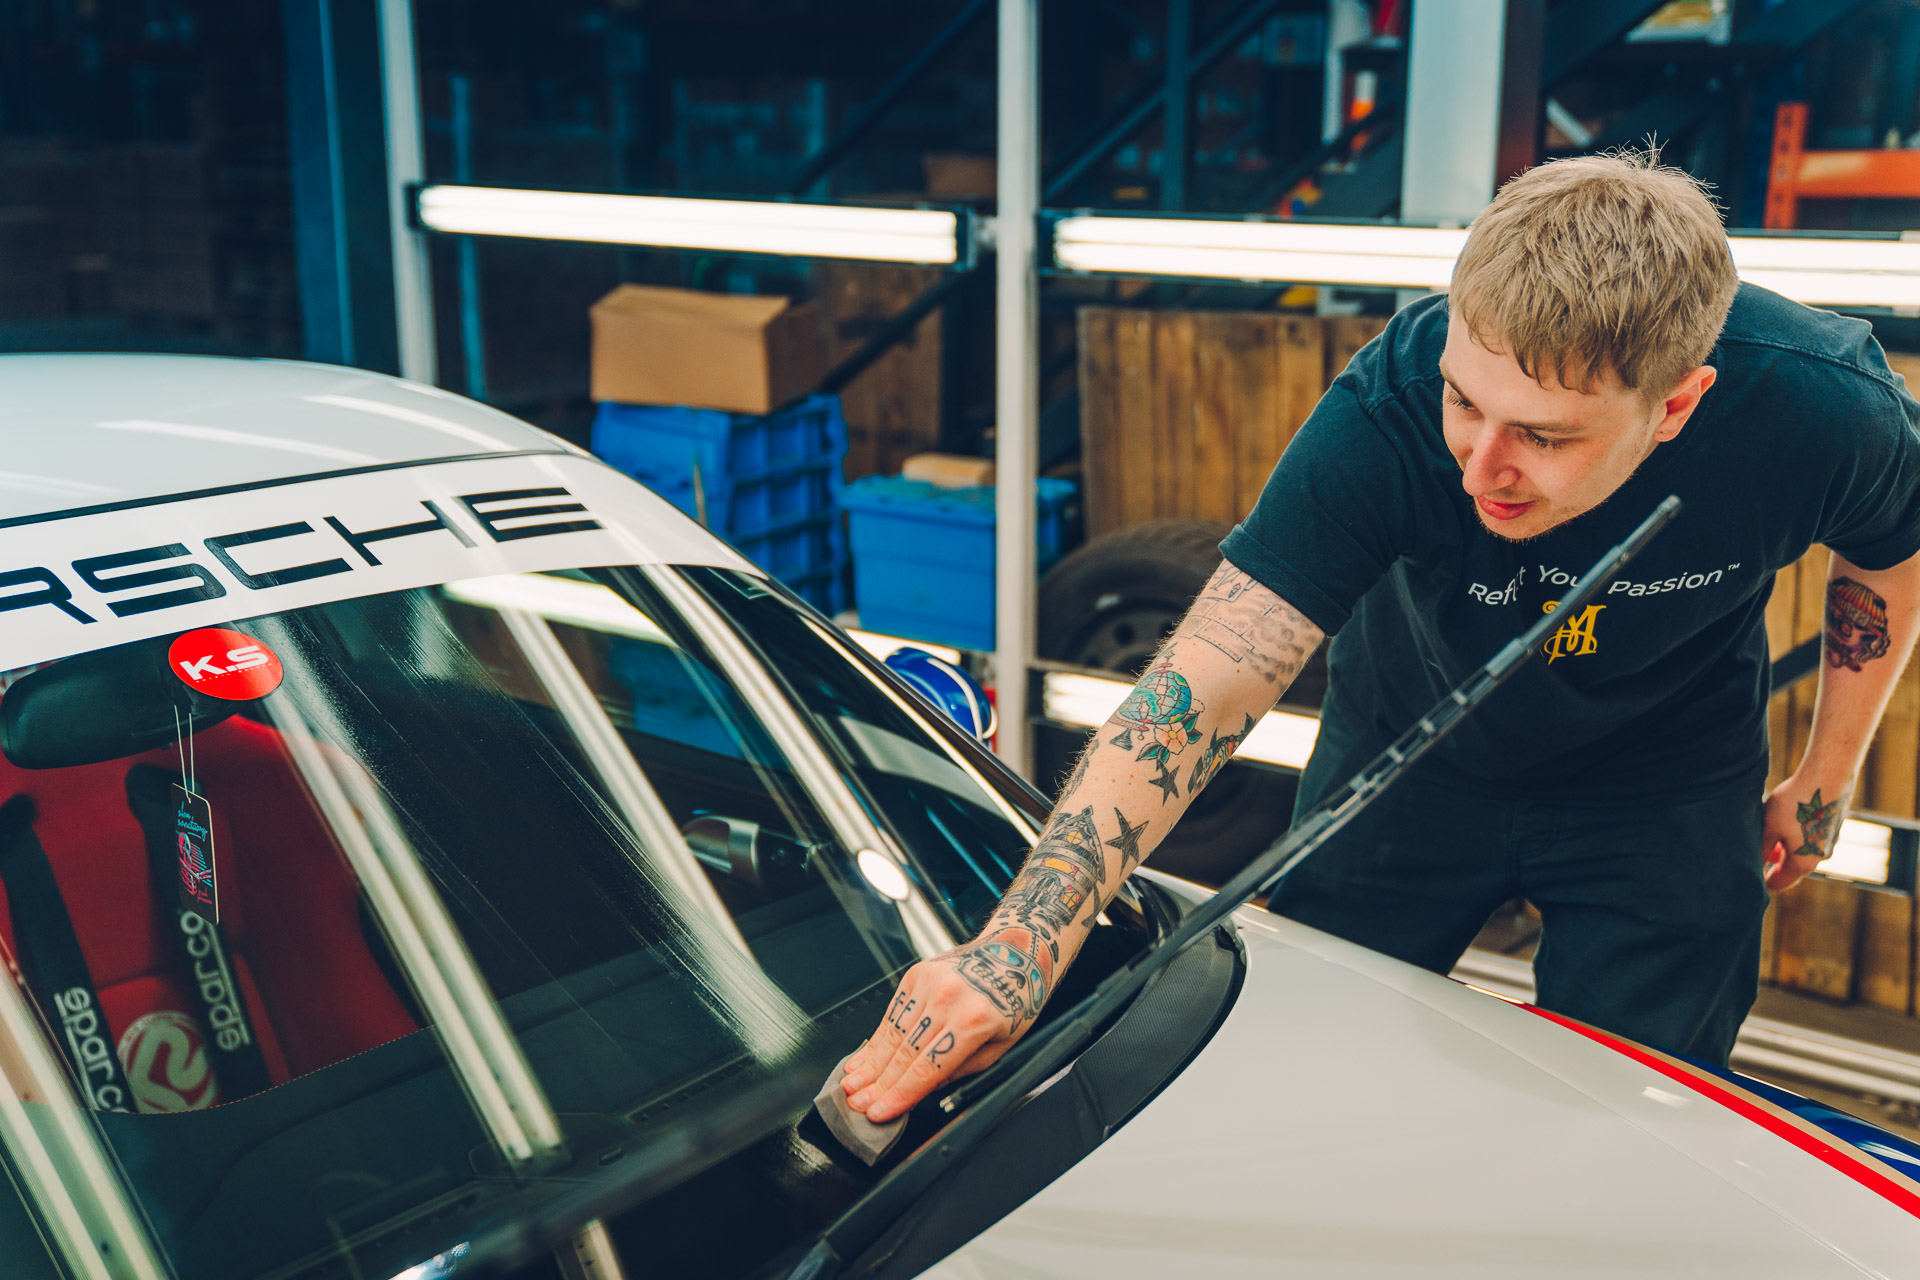
Step 2: Load the product onto the microfibre pad – You’ll want to apply a few drops of compound onto an even coat microfibre pad before applying to the windscreen. Work in a circular motion, ensuring an even coat is applied across the entire windscreen.
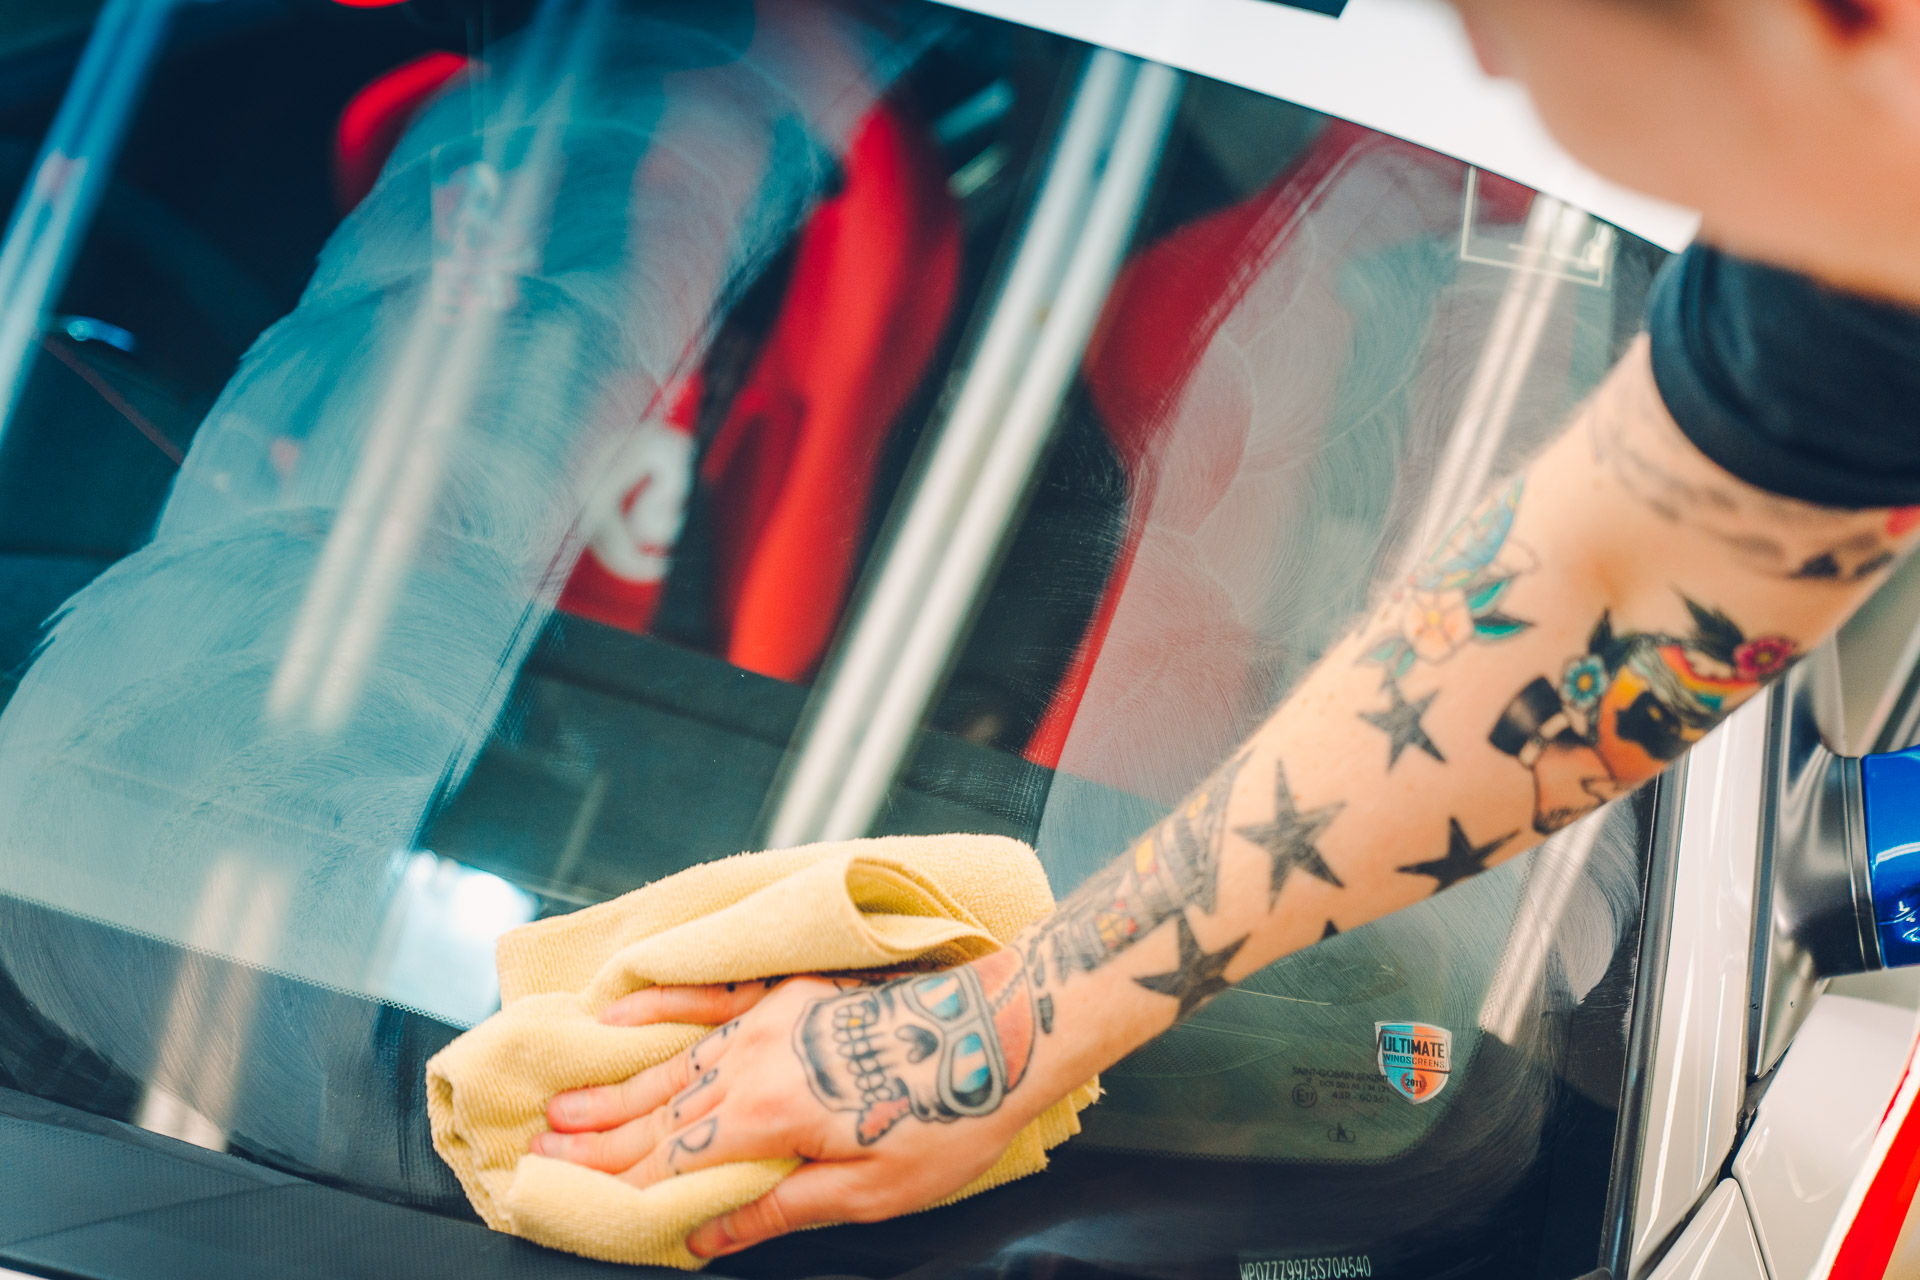
Step 3: Wipe off with a clean microfibre towel – Exactly that, wipe it off with a clean microfibre. Remember, the more you put on the harder it’s going to be to remove…
HINT: There’s no need to leave it to cure; once applied, wipe it off straight after. The longer you leave it the harder it’ll be to buff off.
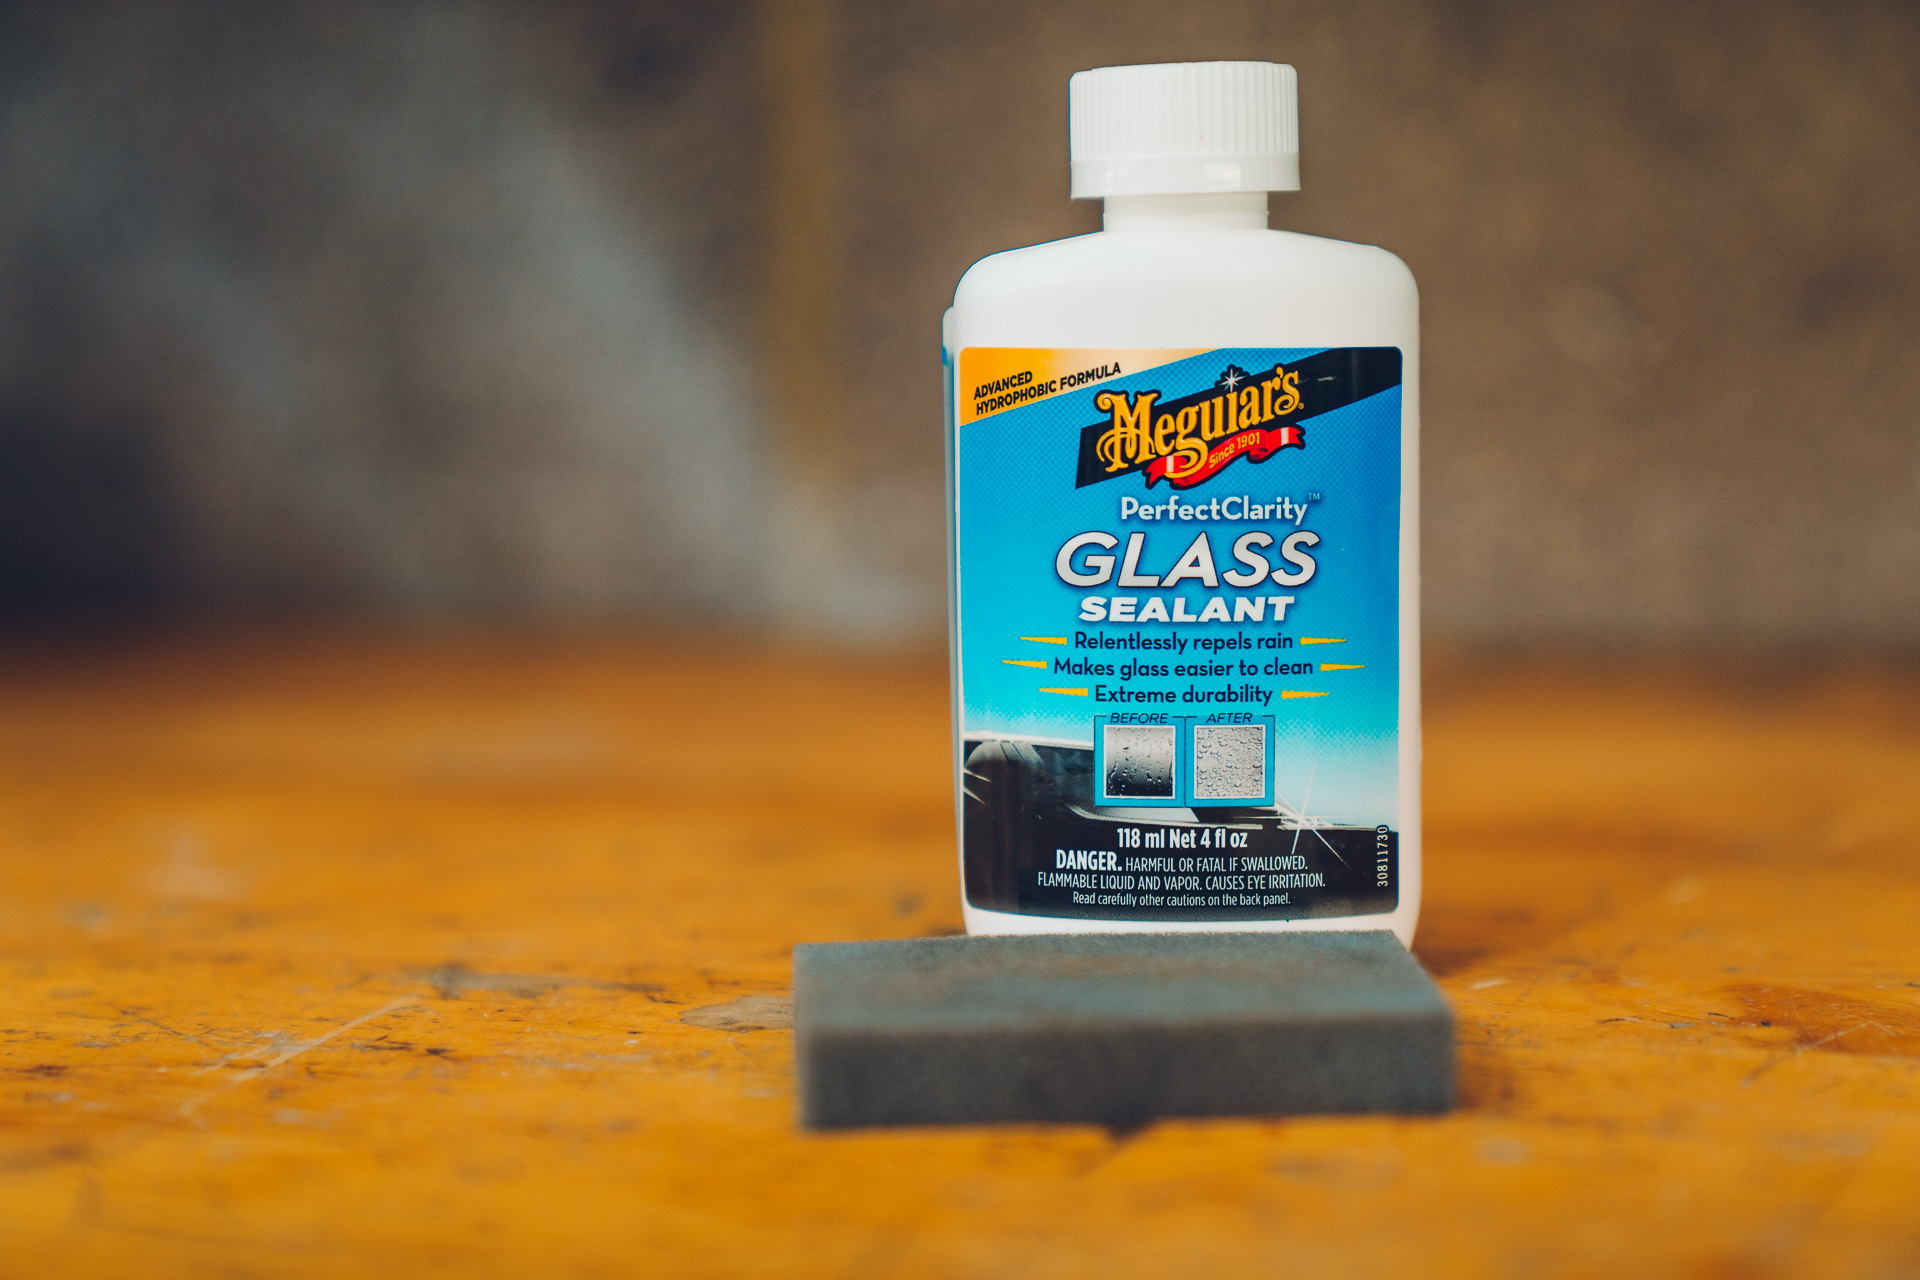
Glass now crystal clear, it’s time to get it protected with Perfect Clarity Glass Sealant.
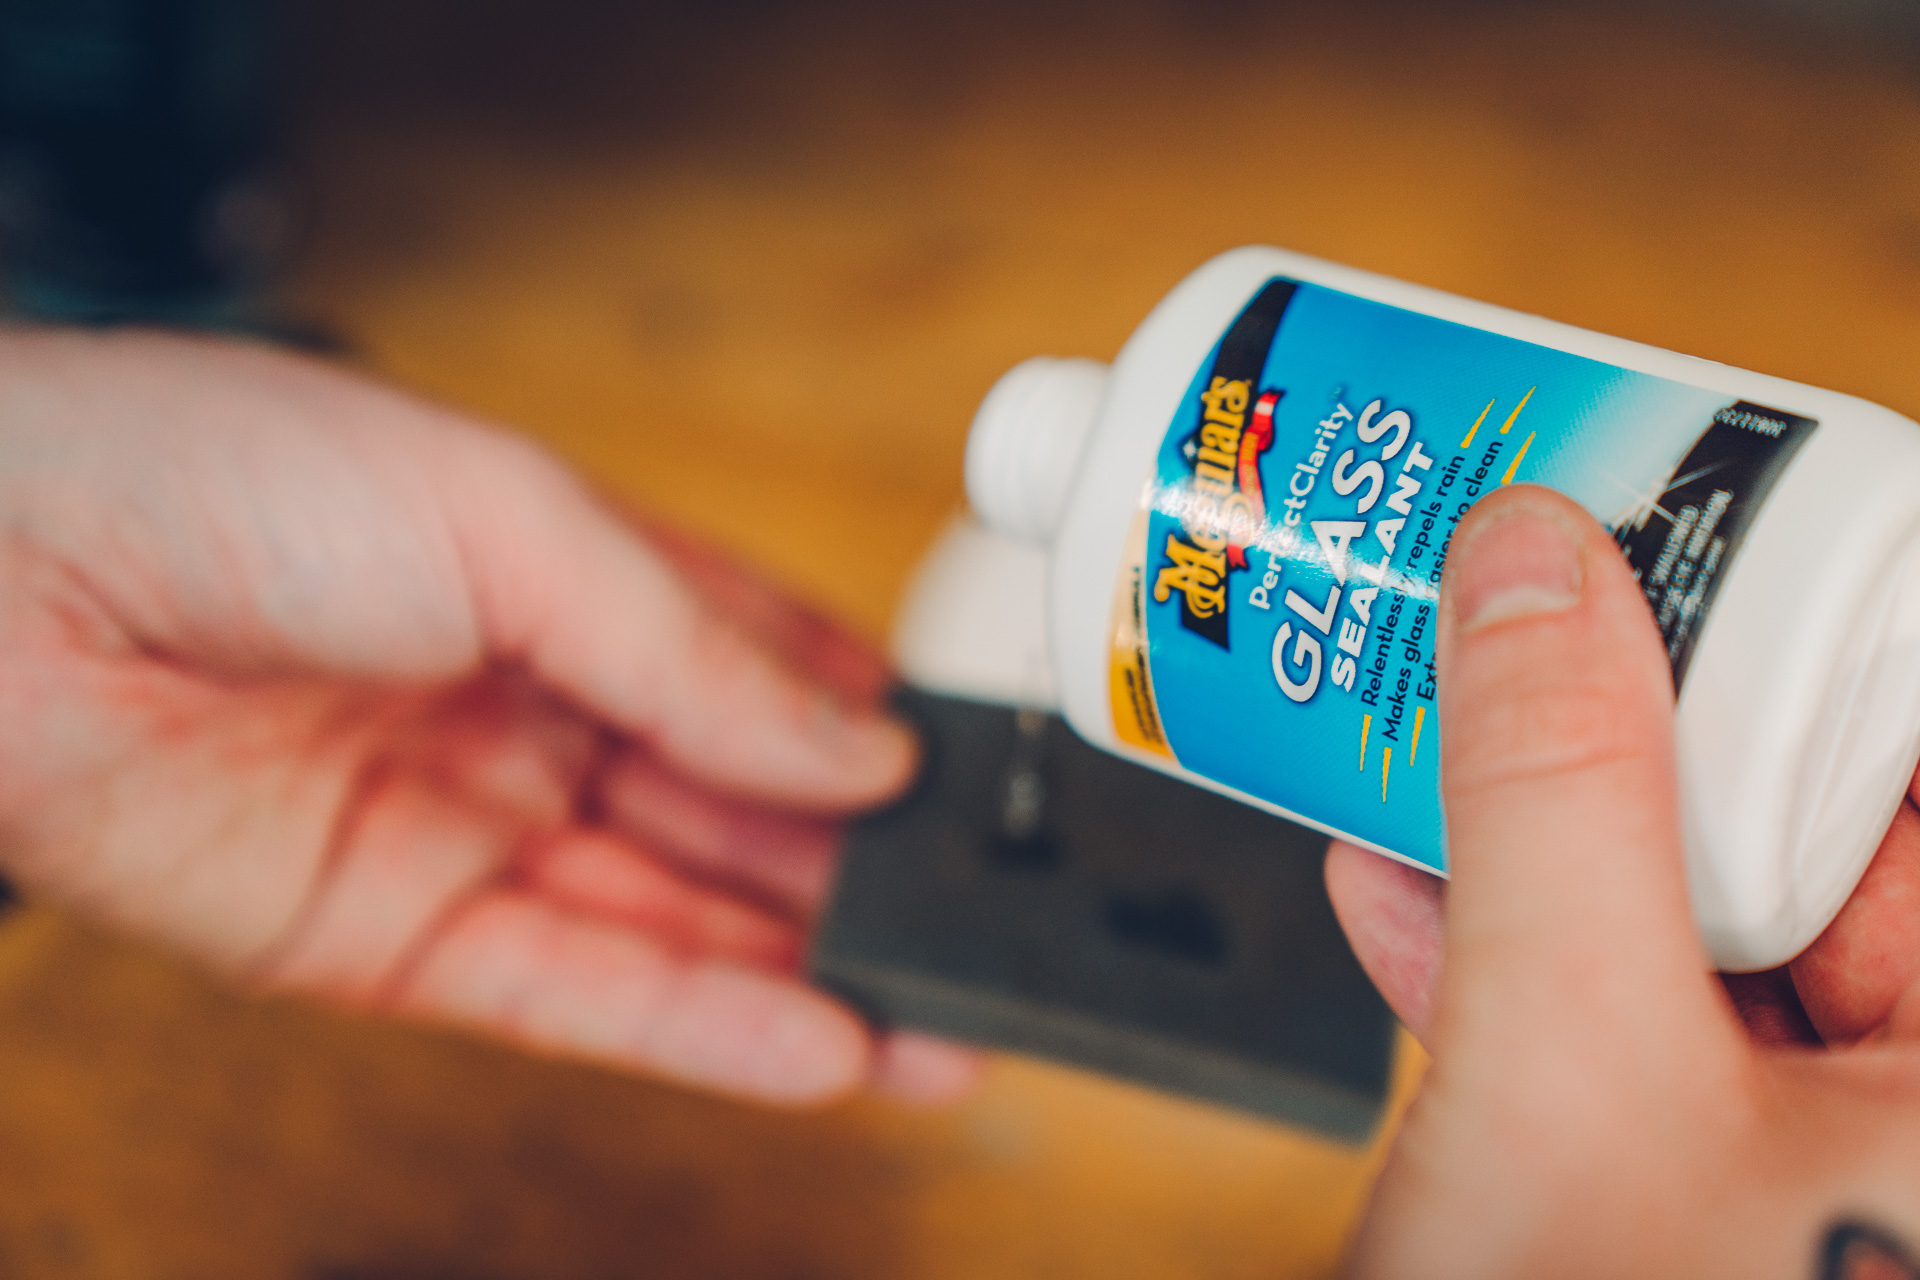
Step 1: Application – Using the foam applicator provided, pour several drops (5-10) of Glass Sealant being careful not to overload the pad with product. You’ll want to work in a crosshatch pattern working in one direction first (downward) before applying it in the opposite direction once the glass is covered.
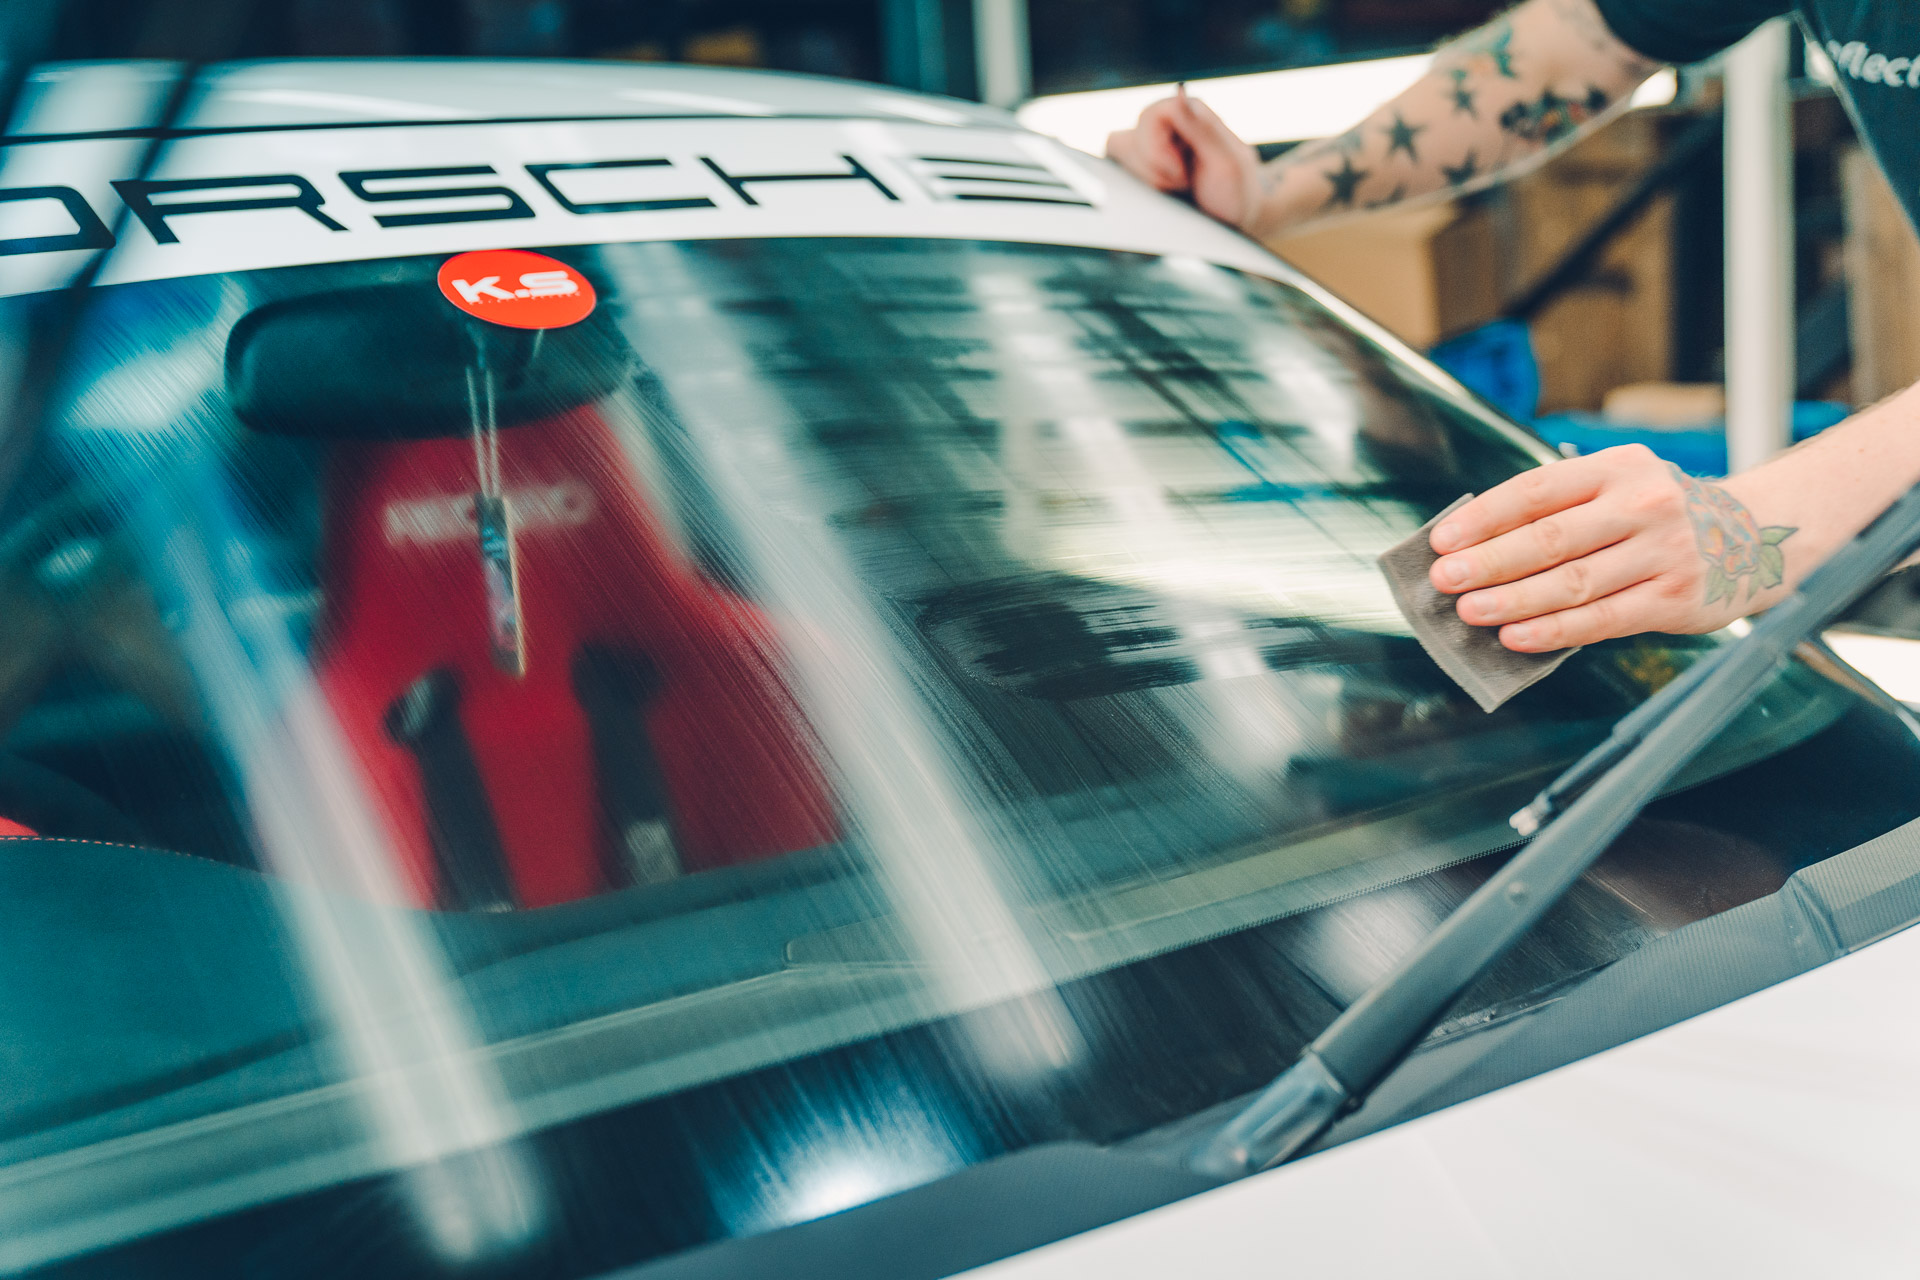
Step 2: Removal – You’ll want to leave it for around 5-10 minutes (ideally in a warm environment) or up to 20-25 minutes if it’s cooler. To buff it off, load up a clean microfibre with tap water leaving the windscreen clear.

Step 3: Final application – Having removed the sealant first time round, you now want to apply one final coat of Glass Sealant (working in a downwards motion, don’t worry about crosshatching the glass). Instead of leaving it to cure this time, remove it immediately after you’ve finished again with a clean microfibre loaded with water.
Not only is your glass super-clear, but it’ll also repel any water which hits it!


