HOW TO: Restore Headlight Clarity in Two Easy Steps!
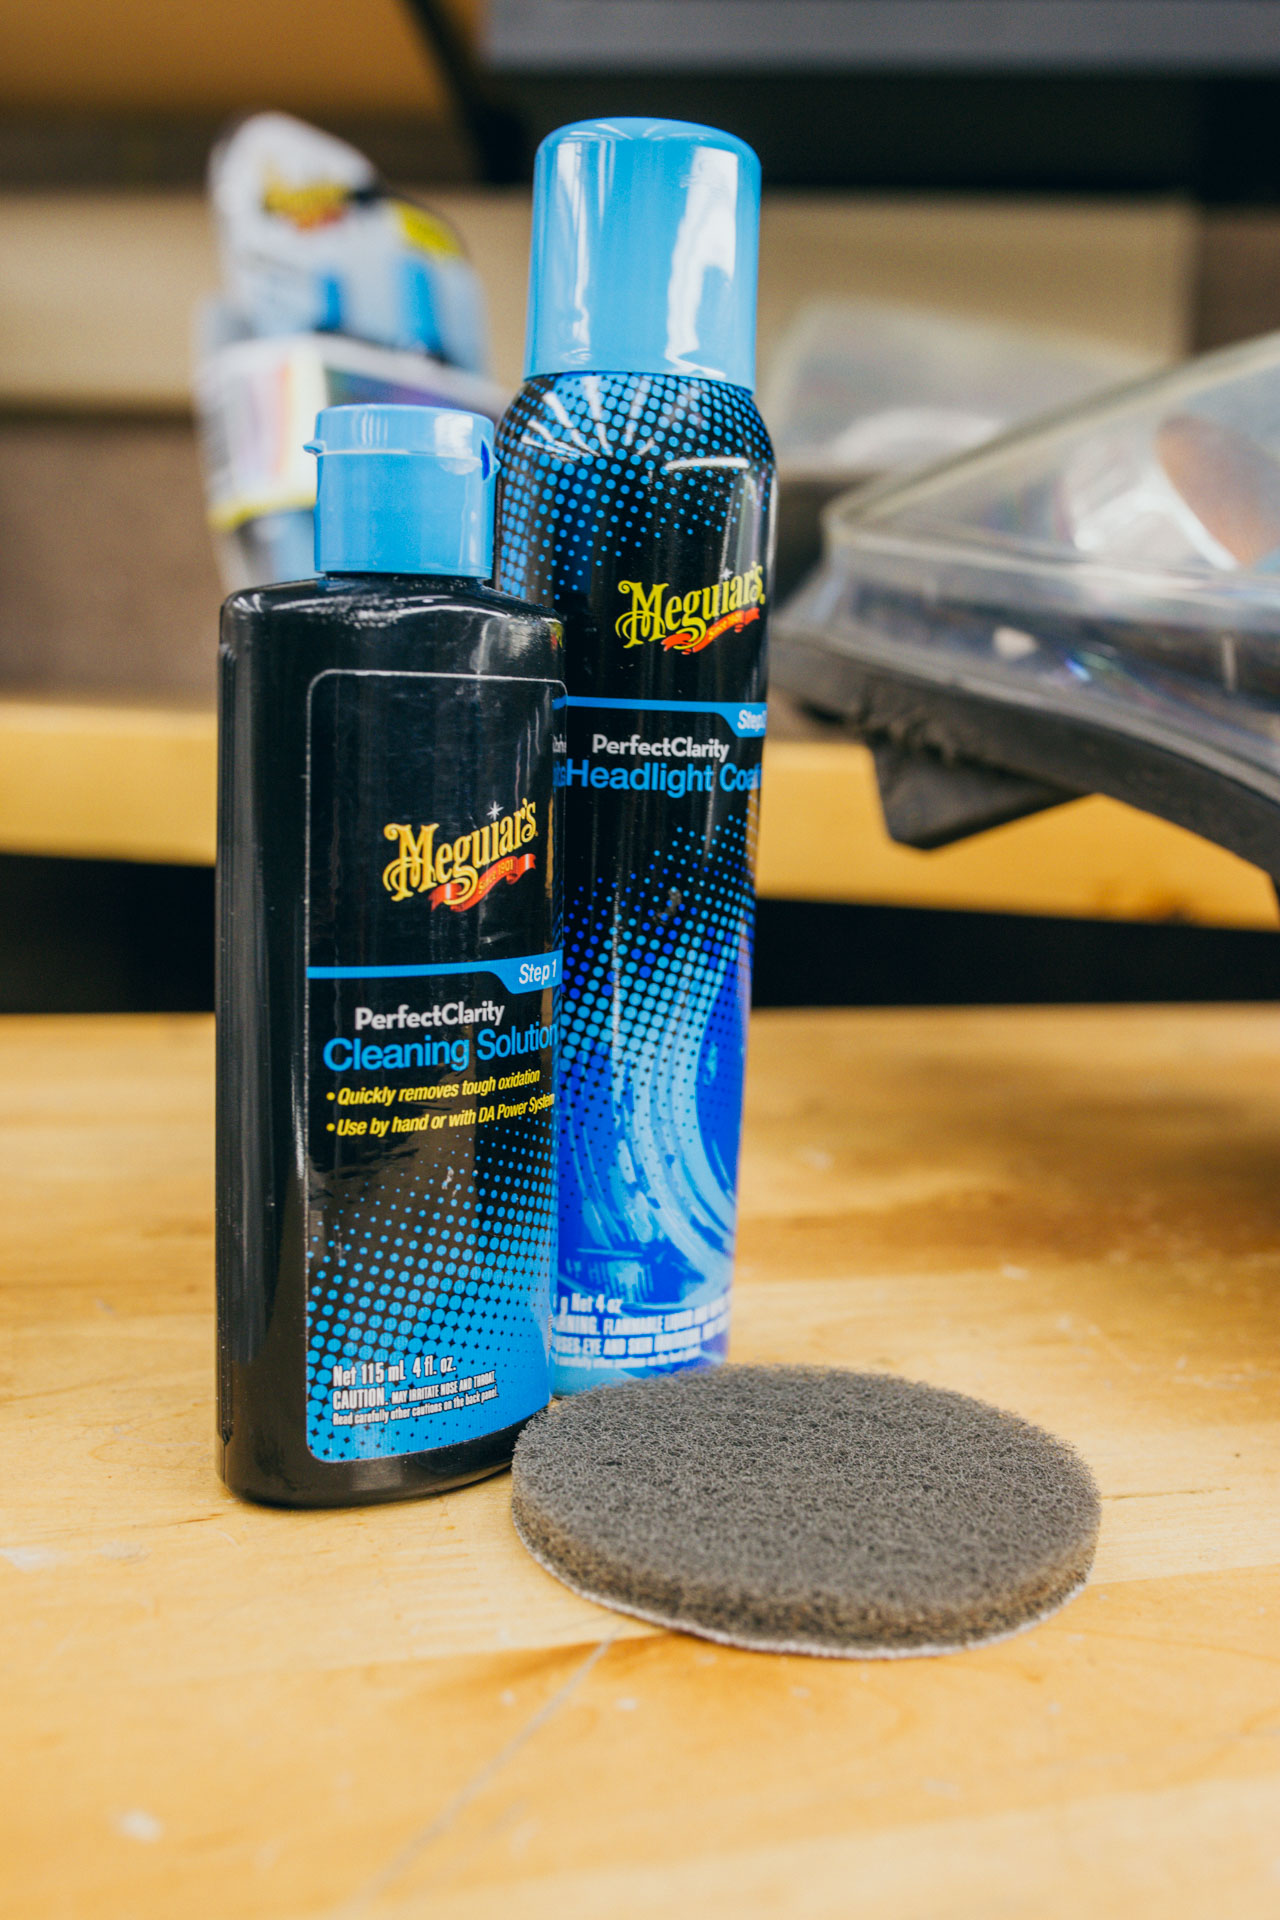
Here at Meguiar’s we pride ourselves on creating innovative products to make car cleaning as quick, easy and effective as possible. One of the latest solutions added to our increasing range is the 2 Step Headlight Restoration Kit, and as the name suggests it works by restoring and protecting plastic headlights in two simple steps!
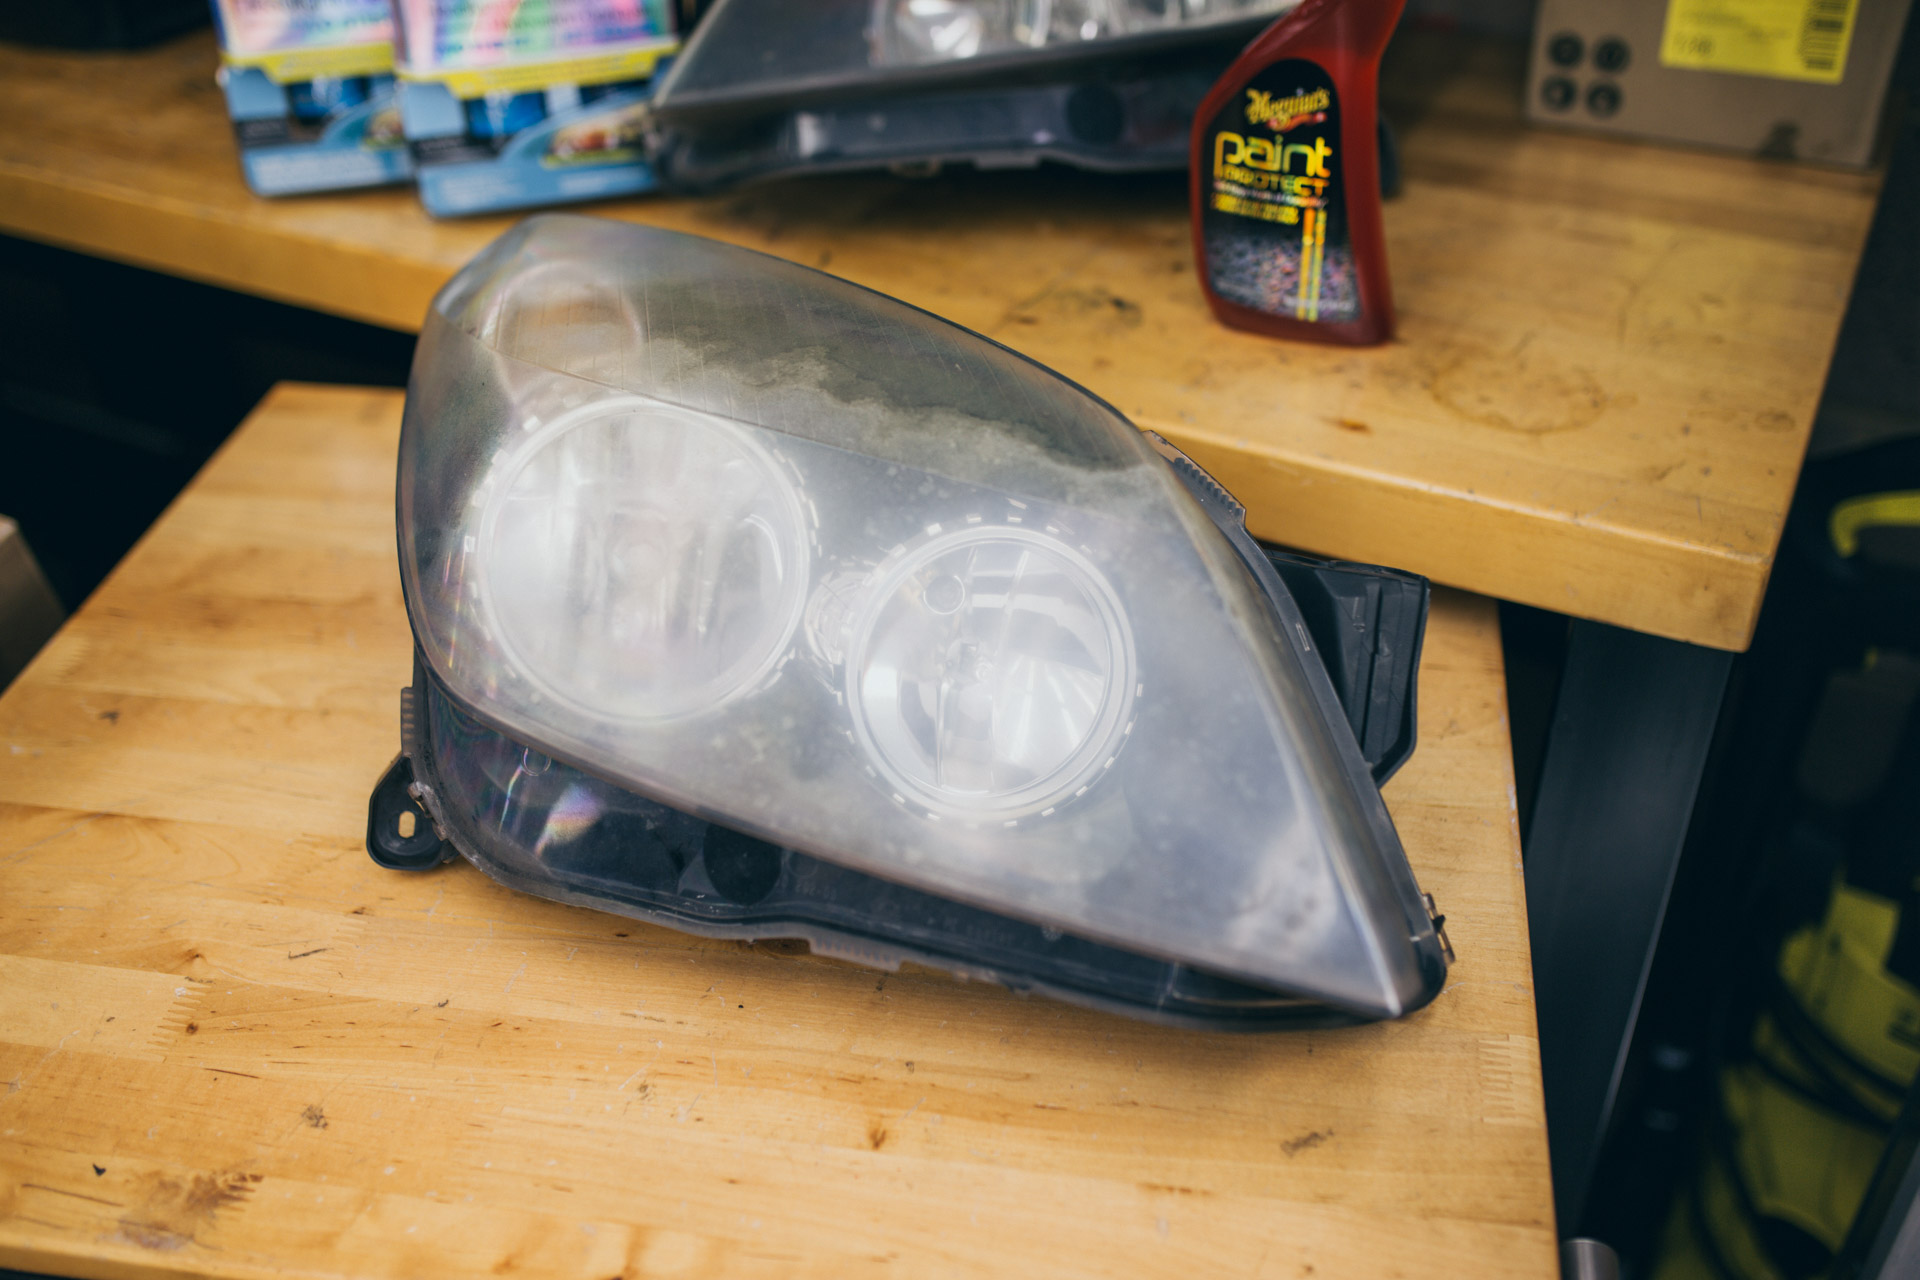
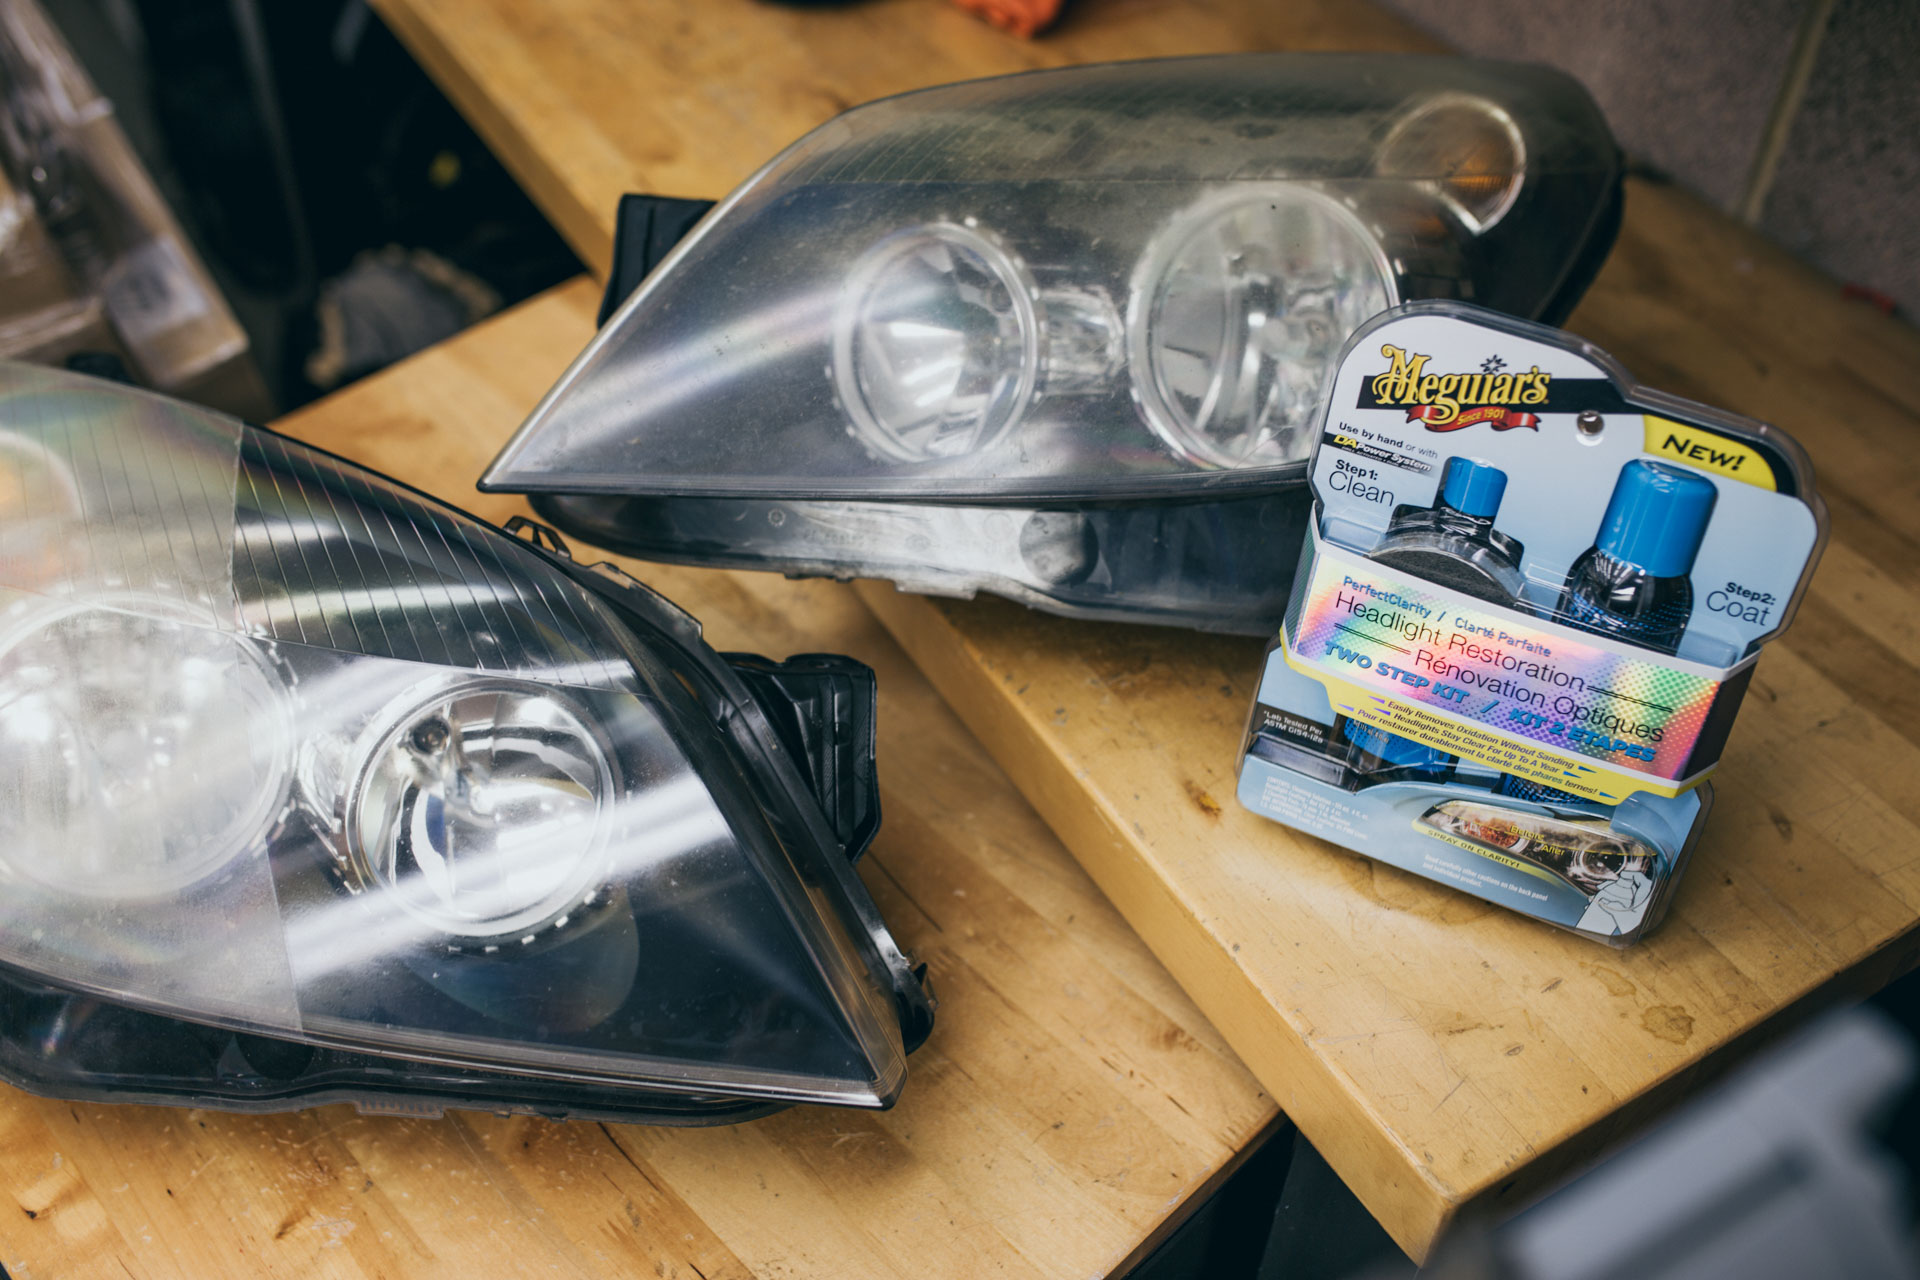
Most modern cars are equipped with plastic headlights as standard, and over time this plastic can fade and oxidise much in the same way that paint does. In addition to this, prolonged exposure to UV rays will further fade the plastic giving a milky finish with a yellow discoloration. As you can see from the images below, the headlights we’re using for this How To guide are a perfect example of how badly some plastics degrade over time, resulting in the headlights being less effective and in some cases an MOT failure.
At this stage, most people would think that it’s time to get a replacement set of headlights – often costing hundreds of pounds. But the Meguiar’s 2 Step Headlight Restoration Kit will easily revive even the most tired headlights in no time saving you a fortune!
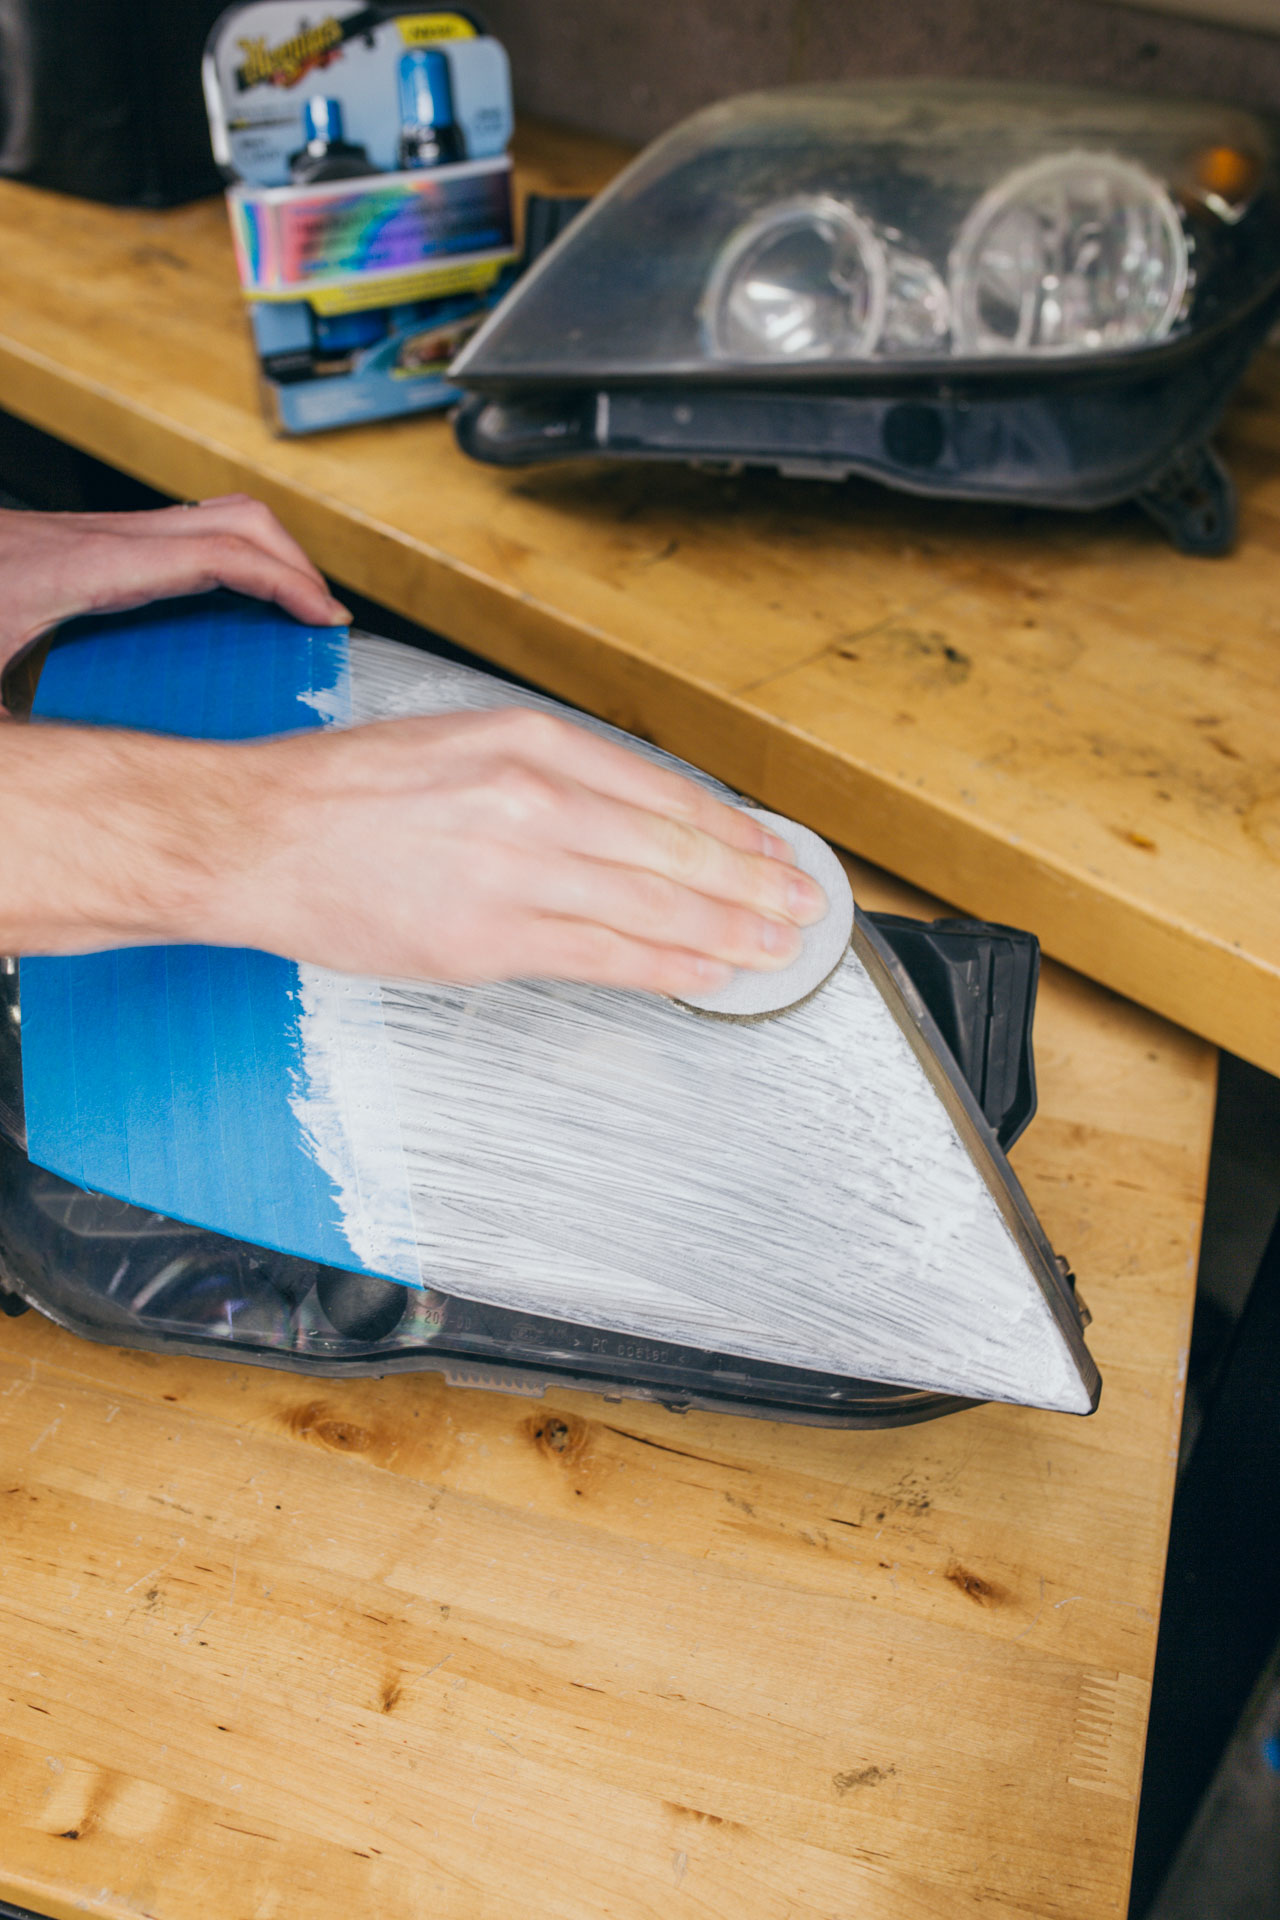
The first step is to clean the headlights using the Step 1 Cleaner and pad provided. Apply a small amount of cleaner fluid onto the pad ensuring it is worked evenly across the whole headlight. Although the pad feels quite abrasive, be sure to apply a little pressure to help the pad and cleaner cut through grime and oxidation. When applying the cleaner, be sure to work it from left to right ensuring the entire headlight is covered.
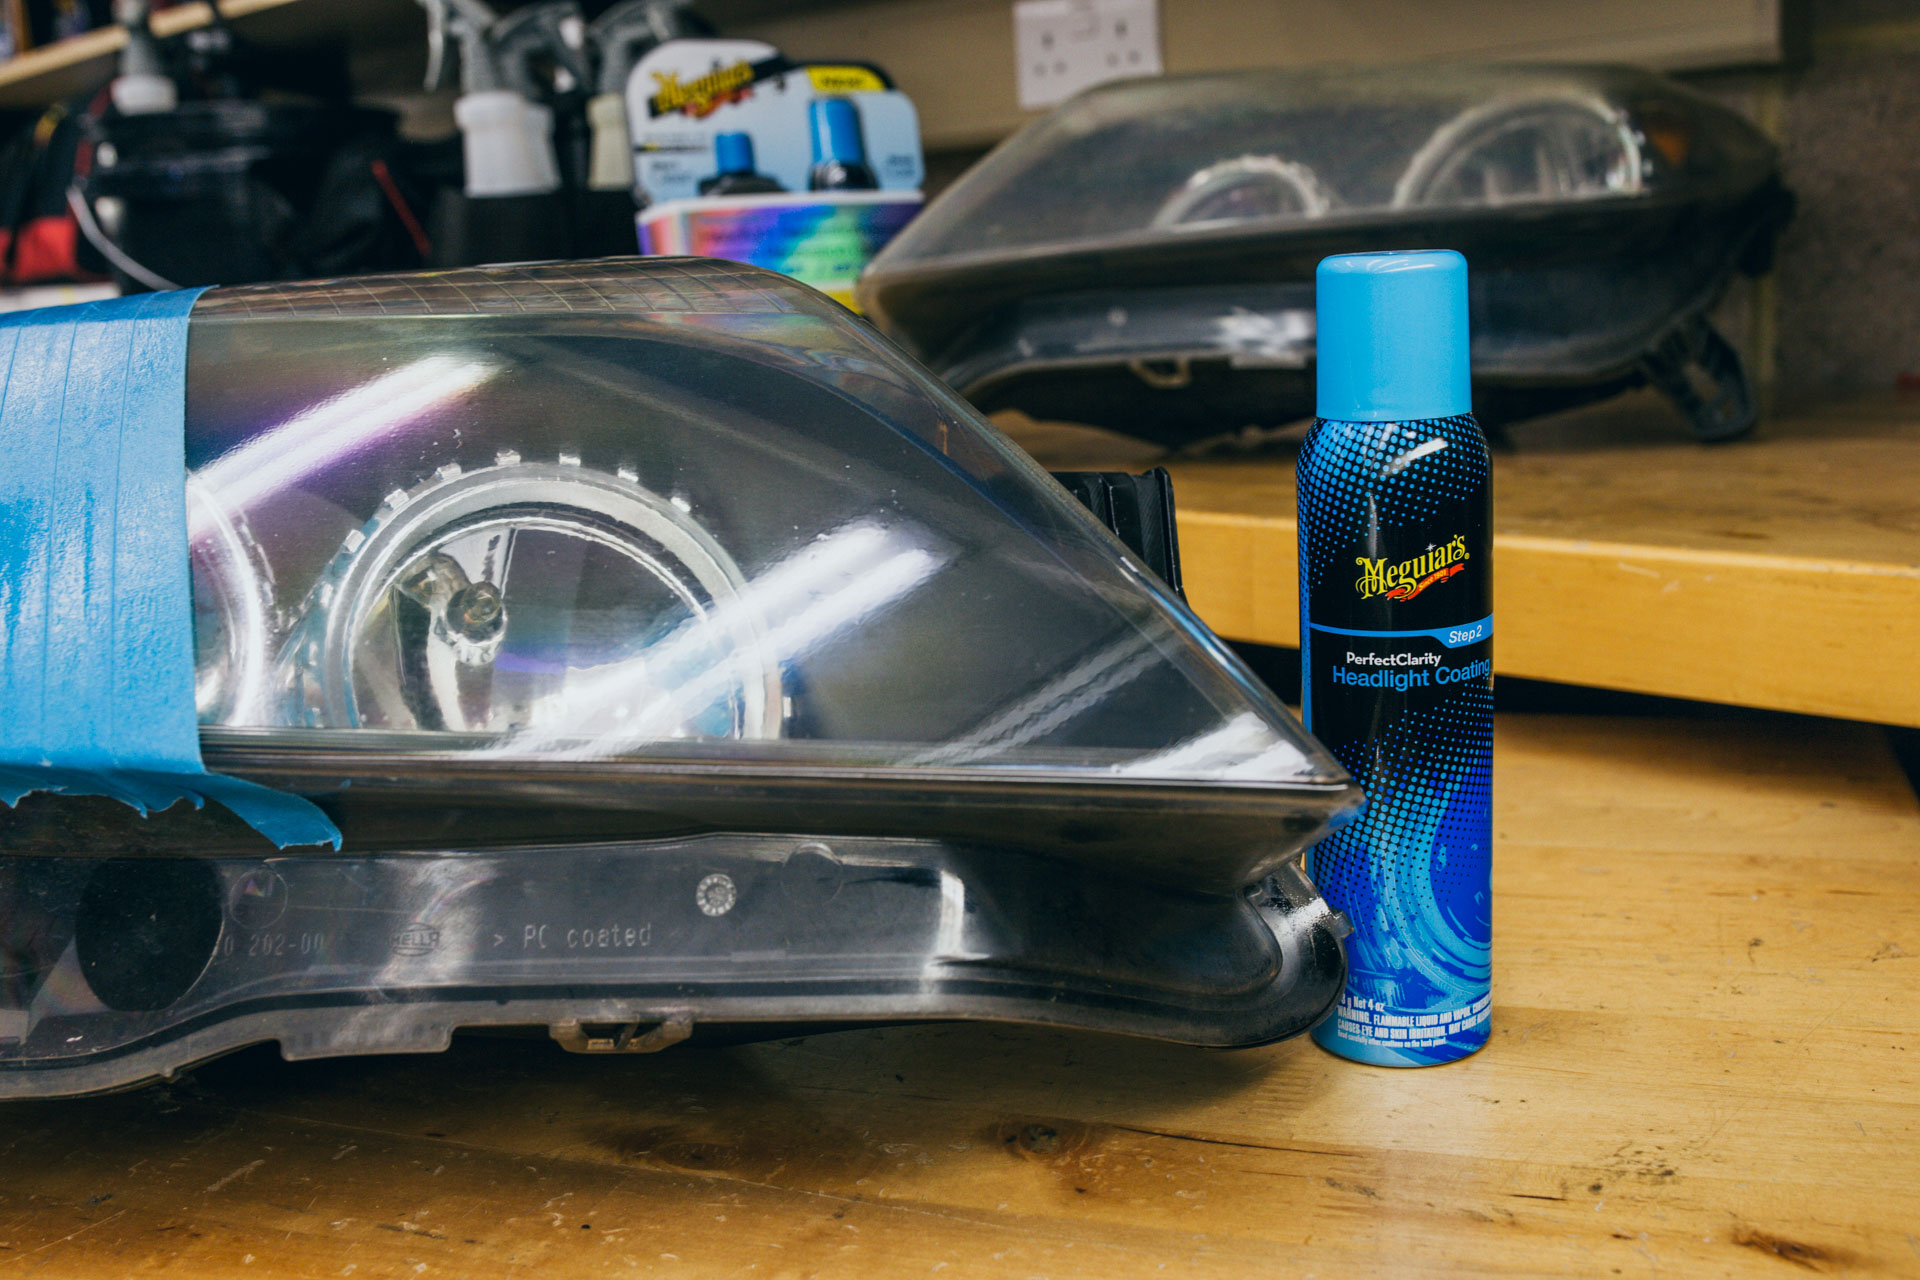
For the purpose of this feature, we’ve masked half of the headlight to show you the transformation before and after. Additionally your car’s headlights do not need to be removed for the 2 Step treatment to be applied.
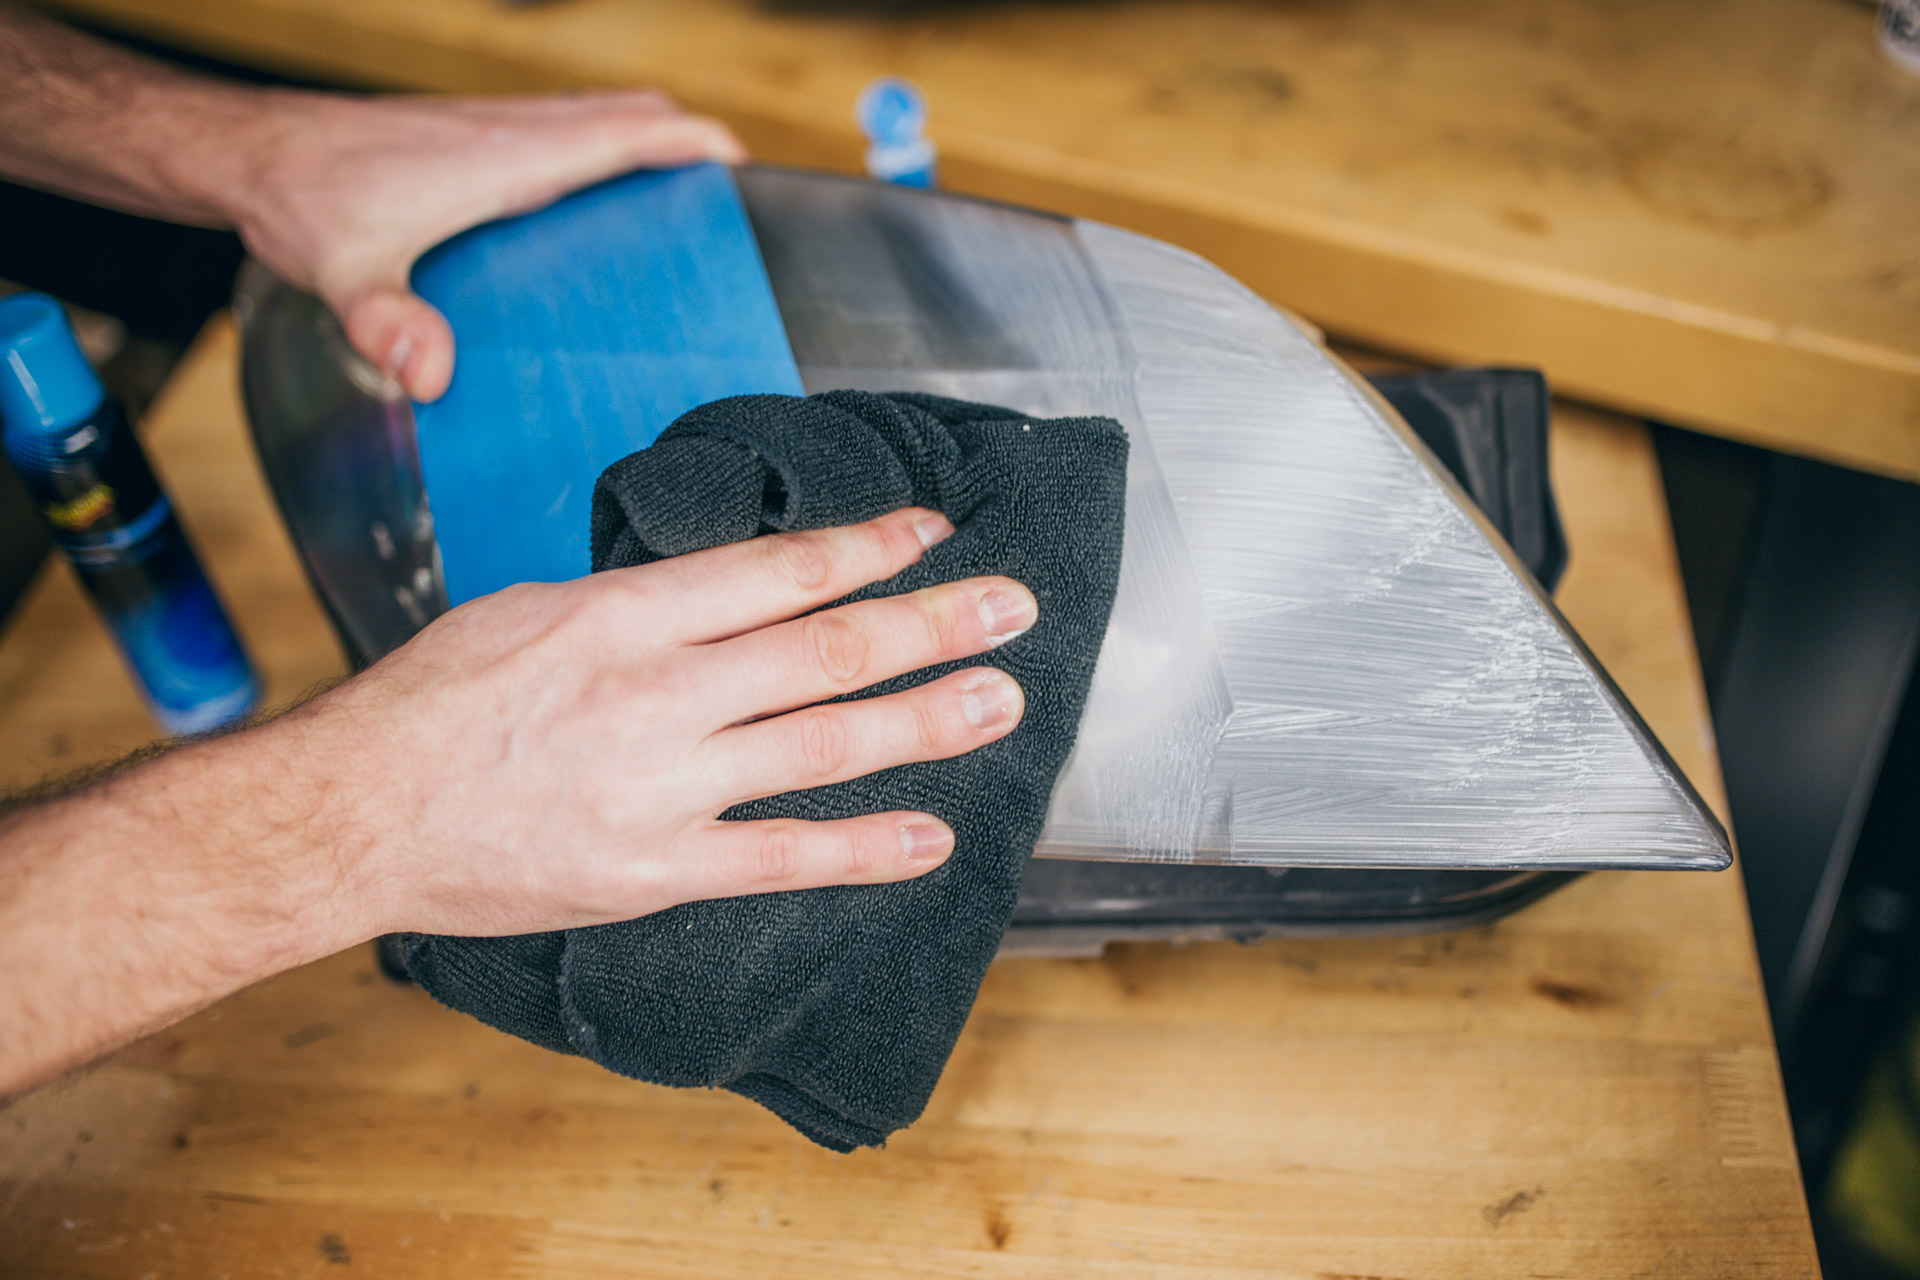
NOTE: The cleaner should not be allowed to dry on the surface and should be removed whilst still wet. The cleaner should be removed with a clean microfibre towel.
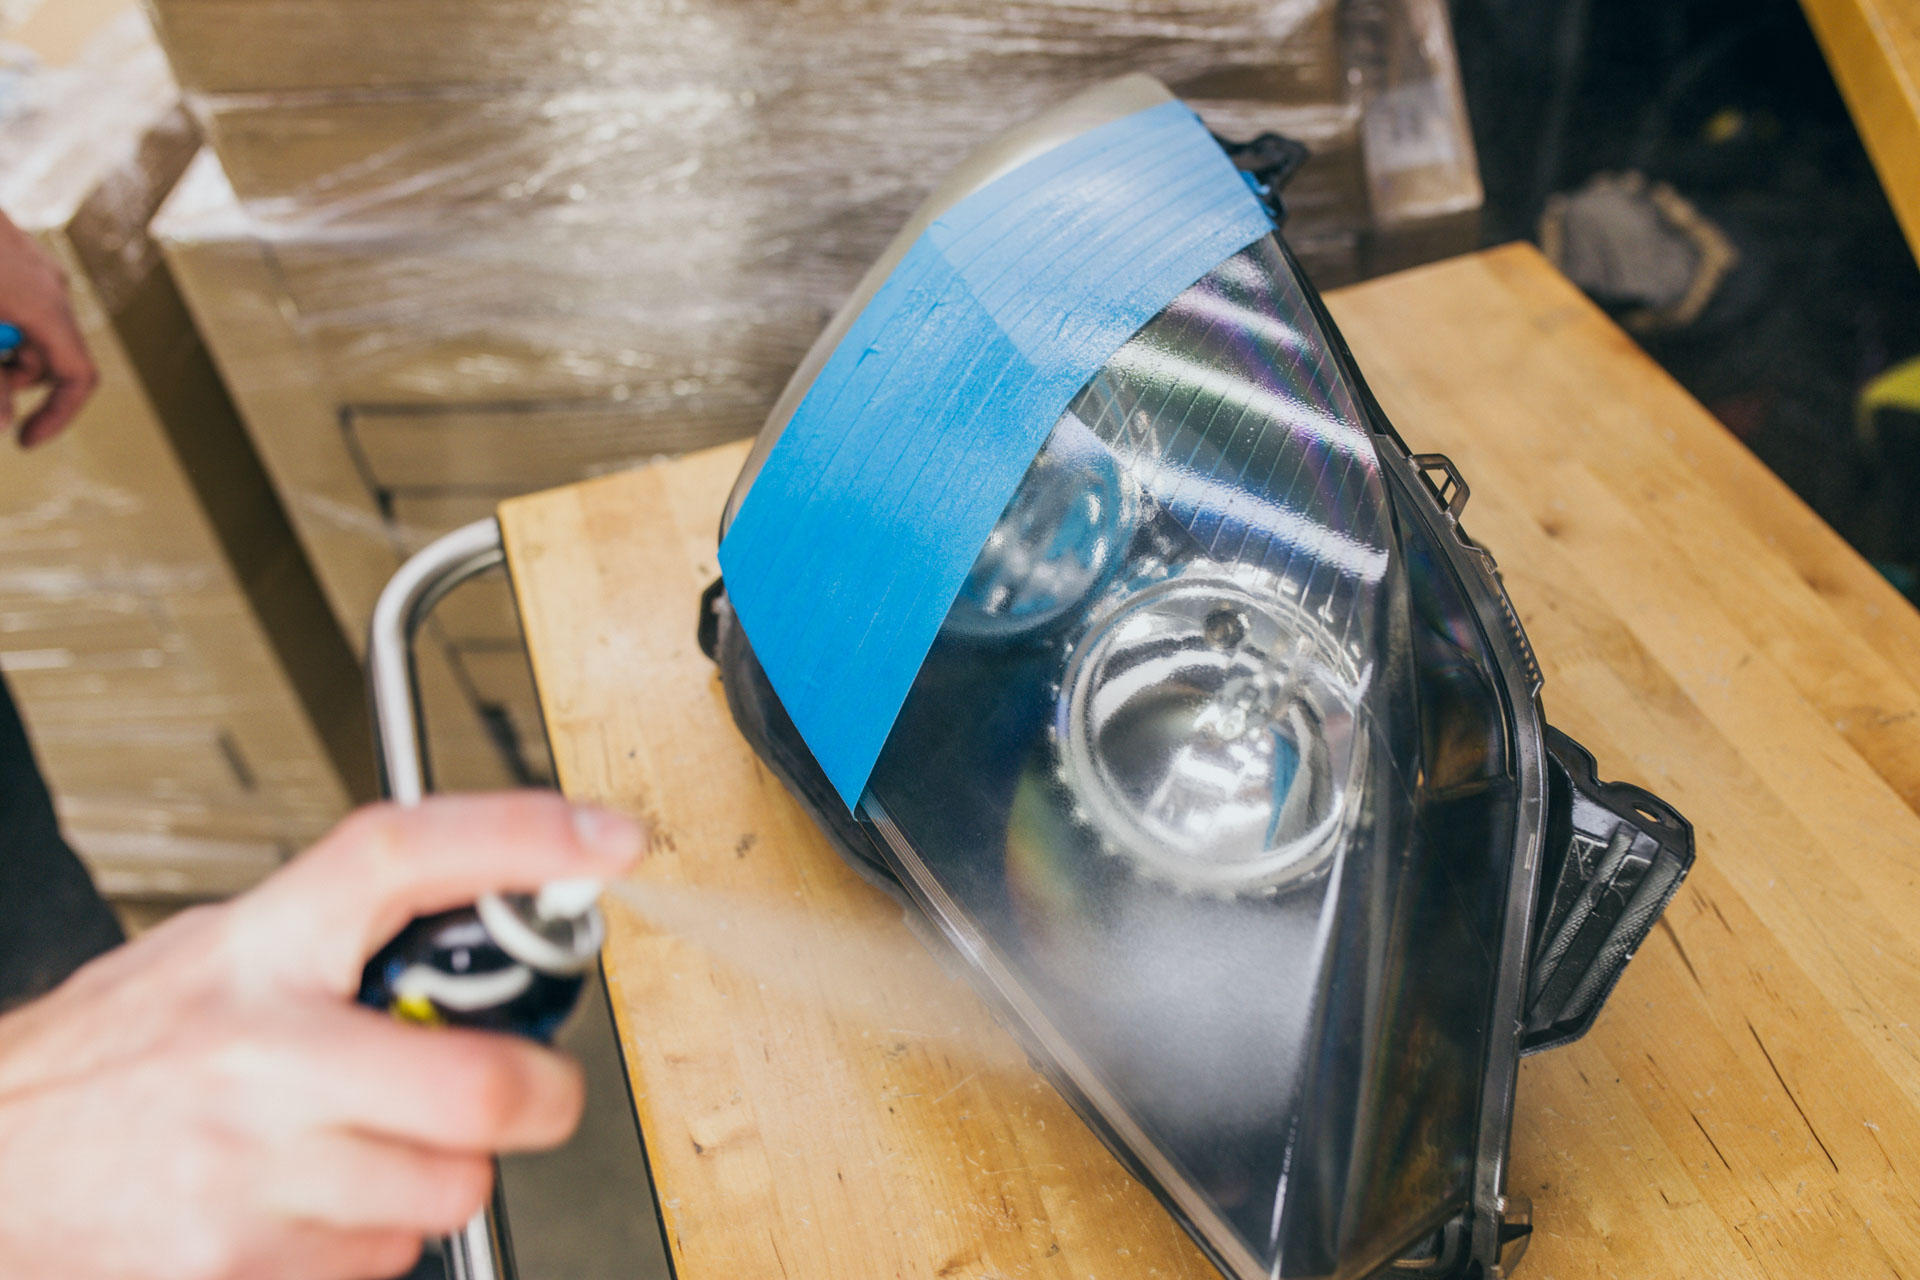
After applying the cleaner, you should find that you’re left with an even hazing across the entire headlight. Don’t panic though! You haven’t made your plastic worse – this is where the magic and innovation of Meguiar’s Step 2 Protectant comes into its own. Shake the Step 2 well and then apply a medium coat across the entire headlight – left to right – ensuring the whole surface is evenly coated. Right before your eyes you will see the clarity returning to the headlight!
Allow the first coat to dry for approximately 3-5 minutes, then apply with another medium coat to the headlight. Make sure you get a smooth, even coverage on both coats and once again allow the headlight to dry for another 5 minutes. The protectant will be touch dry in 10 minutes, fully curing after 24 hours.
All that’s left to do is stand back and admire the finish that took you less than 30 minutes to achieve! Our protectant has been tested and proven to give a years’ worth of protection. Don’t worry if you get it wrong – you can just use the pad and cleaner to remove the protectant ready to apply it once again.

