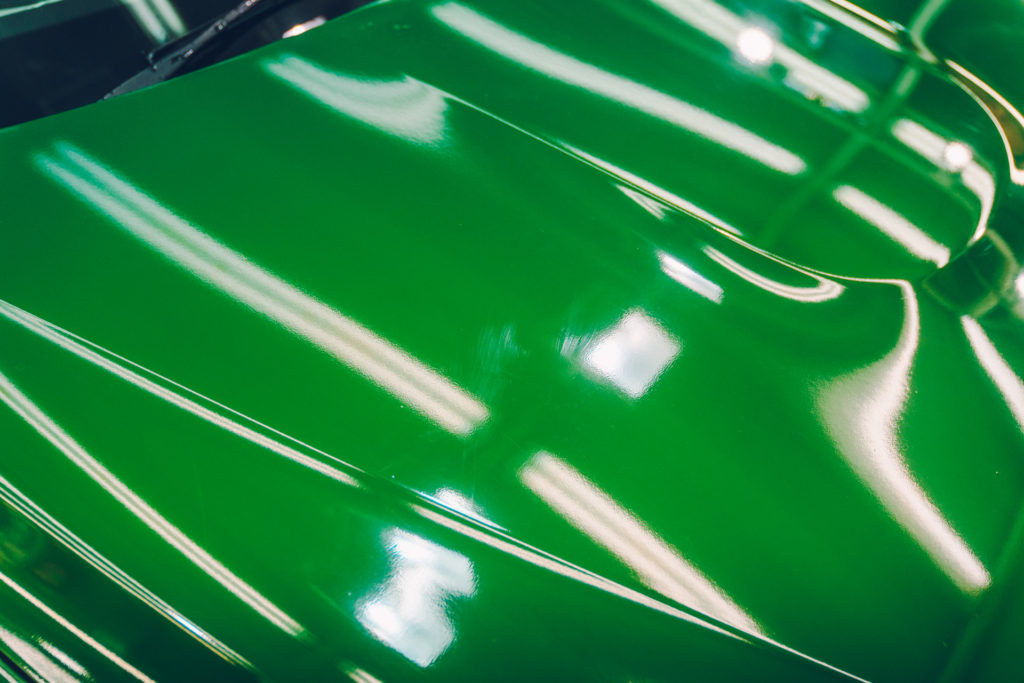
That's a wrap: Caring for your vinyl-wrapped car after winter - Part 1
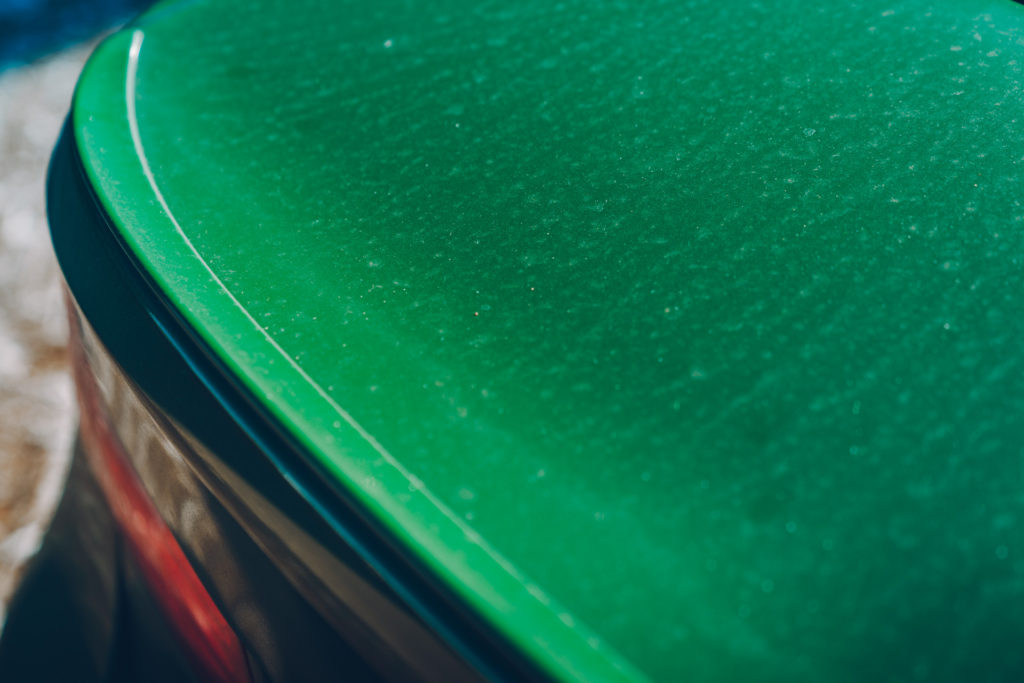
When it comes to refreshing your car ahead of the show season, a vinyl wrap is a quick and (relatively) easy way to completely change its appearance without the expense of a complete paint change. In fact, it’s a pretty good way to protect the original paintwork underneath too…
Over the past decade it’s gone from a relatively niche product to something now common practice within the automotive scene. It’s even been plastered all over TV through companies including Gas Monkey Garage and Yiannimize. Now there will always be those who say vinyl is no replacement for proper paintwork, and here at Meguiar’s we’re inclined to agree, but one thing you can’t argue is the fact it’s here to stay.
The most common question we’re asked with vinyl-wrapped cars is how to care and clean ’em. Now truth be told, caring for a vinyl-wrapped car is a lot like caring for paintwork. You can still clean, clay and wax most modern day vinyls with similar results to paint. But there are a few key techniques – and products – Meguiar’s would recommend to keep your vinyl looking super-fresh clean after clean.
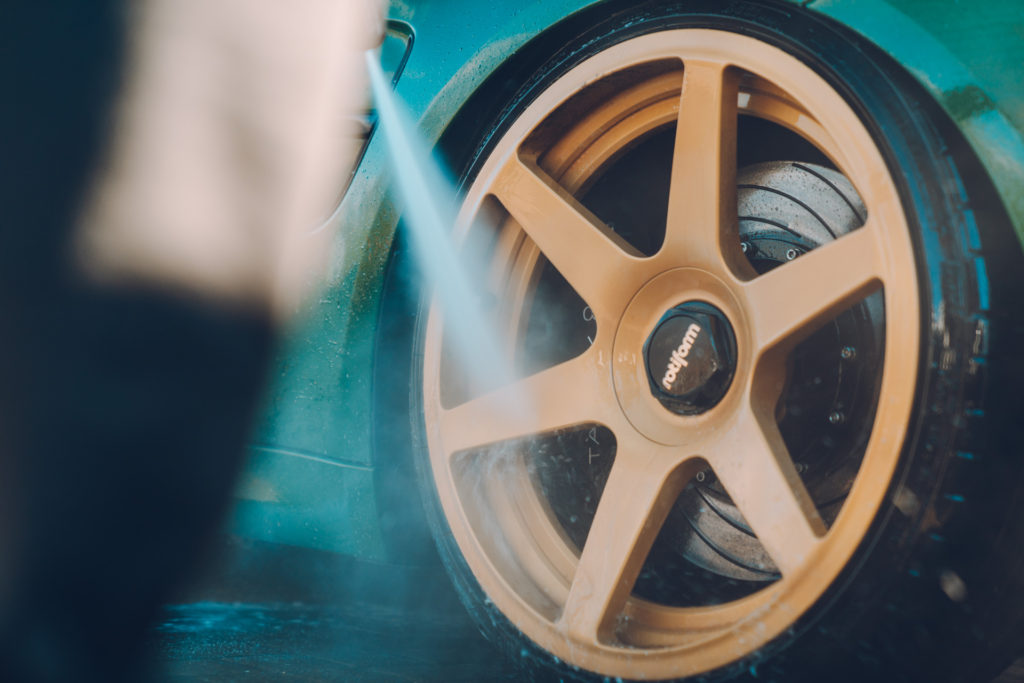
For Part 1 of this guide, we’re going to focus on the initial cleaning process. Vinyl wraps have a tendency of being softer than a hard-baked automotive paint, so it’s best to take a softer approach to the detailing process. First things first, Meguiar’s suggests you use a jet wash to remove any large contaminants from the vinyl as well as ‘lubricating’ the surface.
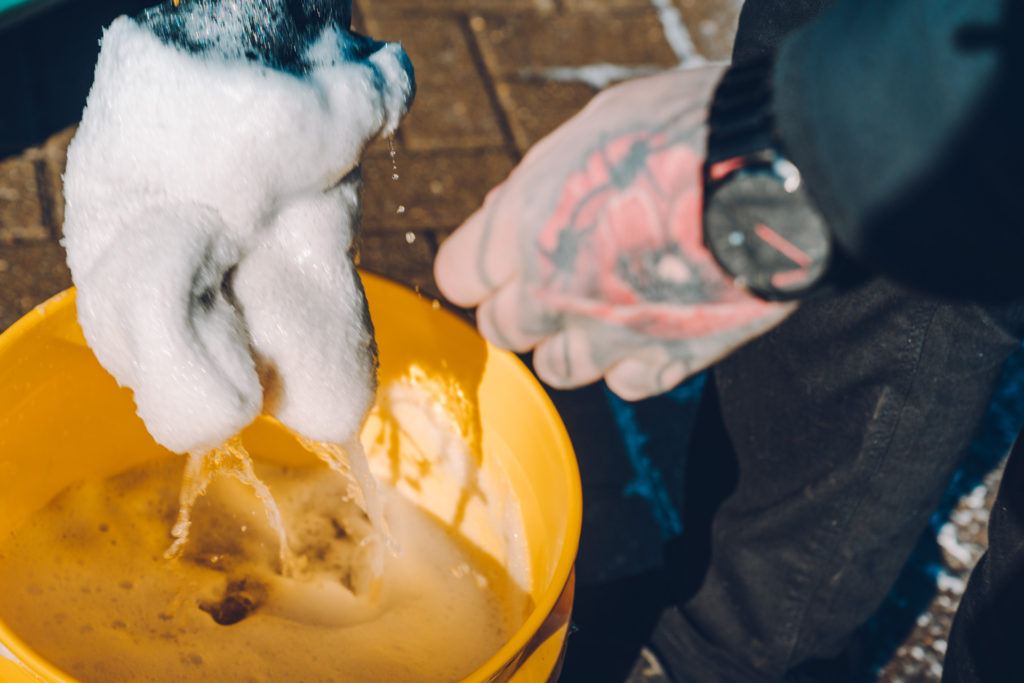
NOTE: Before cleaning, make sure your bucket is fitted with a grit guard to prevent damage to the vinyl being caused during the washing process.
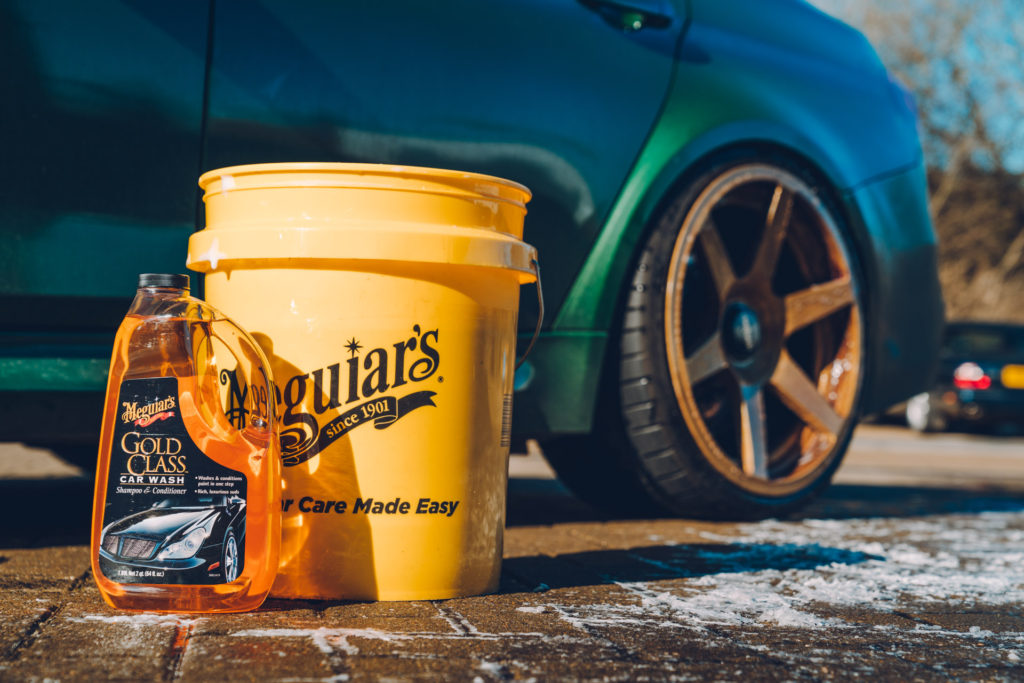
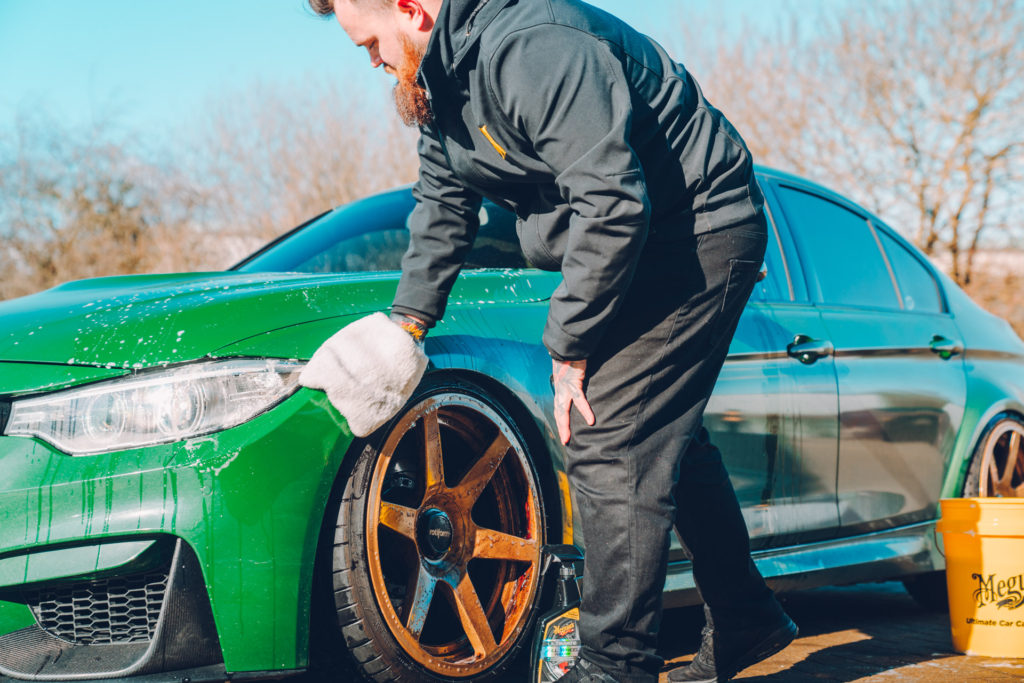
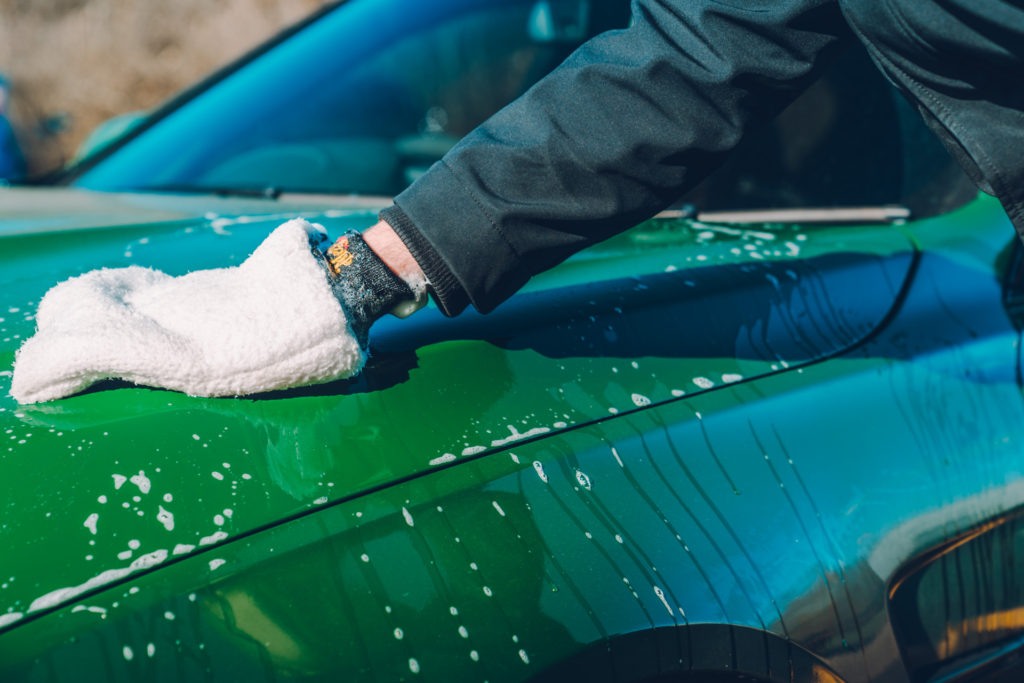
Meguiar’s Gold Class Shampoo is the weapon of choice for the next step. What makes Gold Class perfect for vinyl is the fact it’s a very gentle cleaner compared to other shampoos which means it wont leave glossy streaks on any satin or matte wraps. In addition to this, the conditioners contained in Gold Class allow the water to sheet off the car quickly and easily reducing the drying time and any unsightly water marks.
Application is simple. Put roughly 1 cap full of Gold Class into a bucket of water which will be more than enough to clean an entire car. Carrying on the theme of taking a softer approach, the Meguiar’s microfibre wash mitt is an essential tool for removing dirt and grime without marking the paint. Once you’ve cleaned the entire car, rinse it off with a pressure washer before moving to the drying stage.
TOP TIP: Use a lower pressure rinse when cleaning off the shampoo. This leaves much less water behind which in turn makes the drying process even quicker.
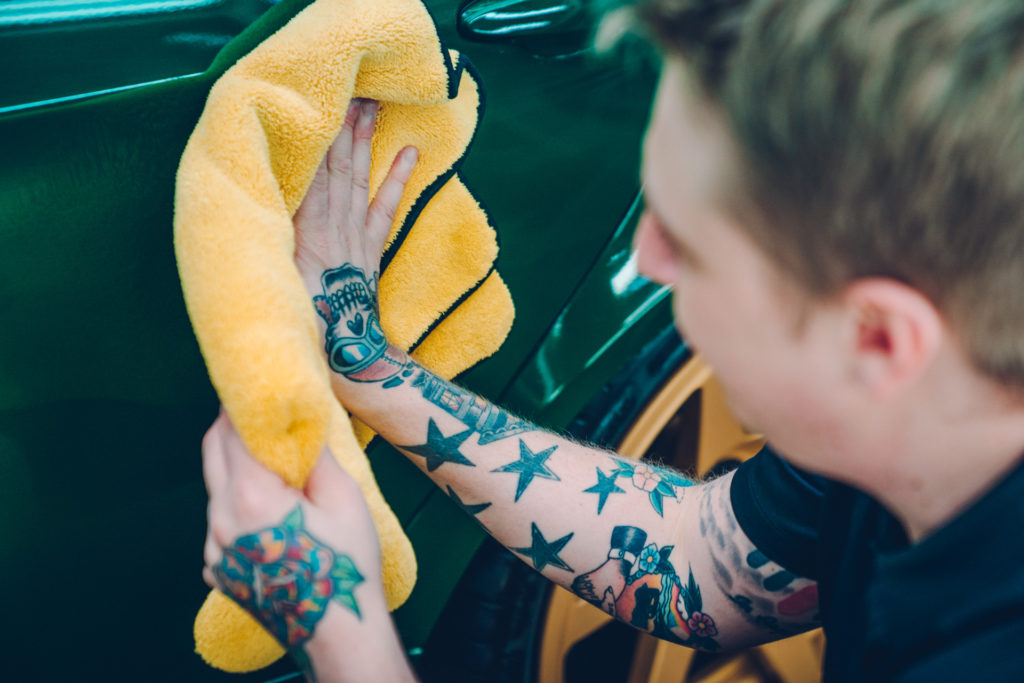
Vinyl wrap cleaned, the next step is drying. For this stage, Meguiar’s recommends one of our all-new Supreme Drying Towels. Its 920gsm pile ensures the towel absorbs water super-fast with a softness that helps reduce marks particularly on vinyl, not to mention the use of soft edges to further prevent this from happening. The deep pile and size of this towel (55cm x 76cm) lends itself to whatever drying style you adopt – whether it’s the pat down method, drag and fold or simply wiping the bodywork.
Bodywork dry, your vinyl should once again be looking super fresh with the added protection of our Gold Class Shampoo. However, what if you’ve got some swirls in your vinyl… is it time to have an entire panel re-wrapped? Have no fear, Meguiar’s has a solution for not only removing scratches and swirls, but also offering further protection to prevent this in the future. Find out how in Part 2 very shortly…

